Gauge How It's Made
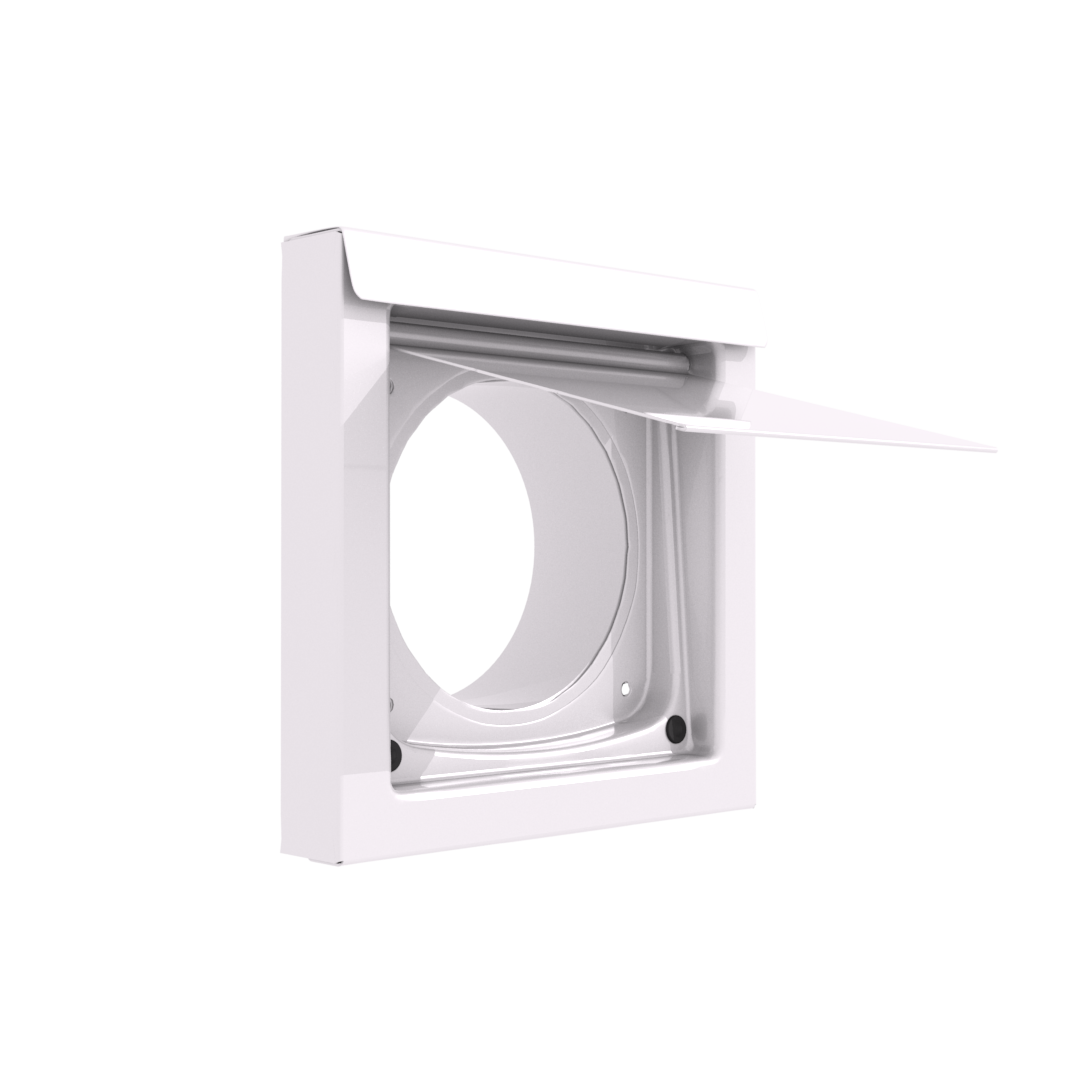
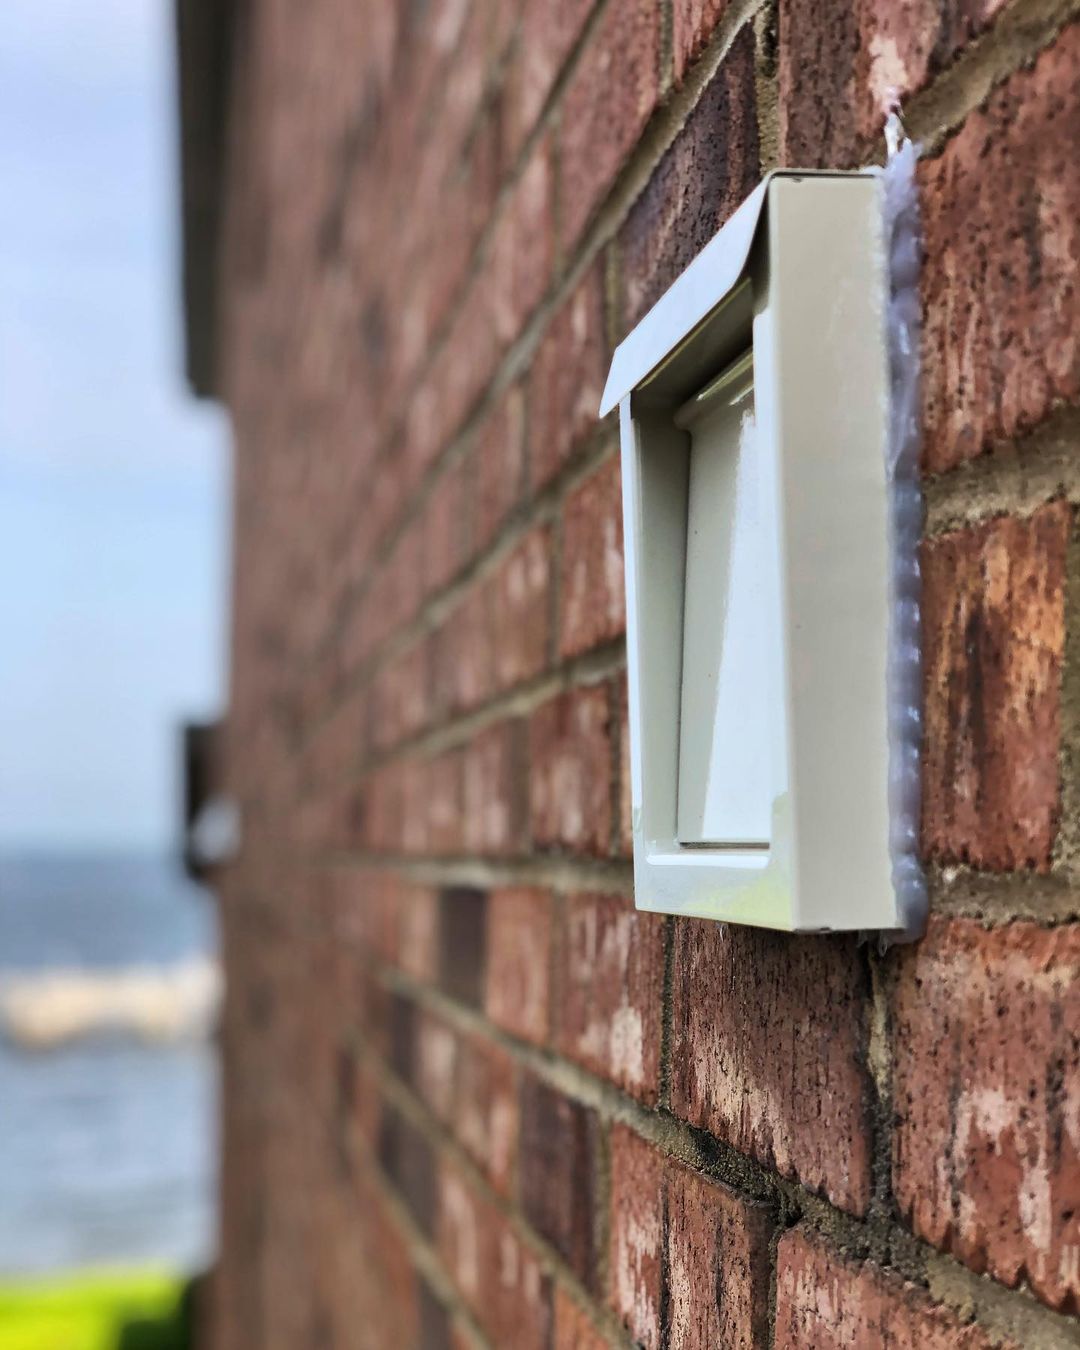
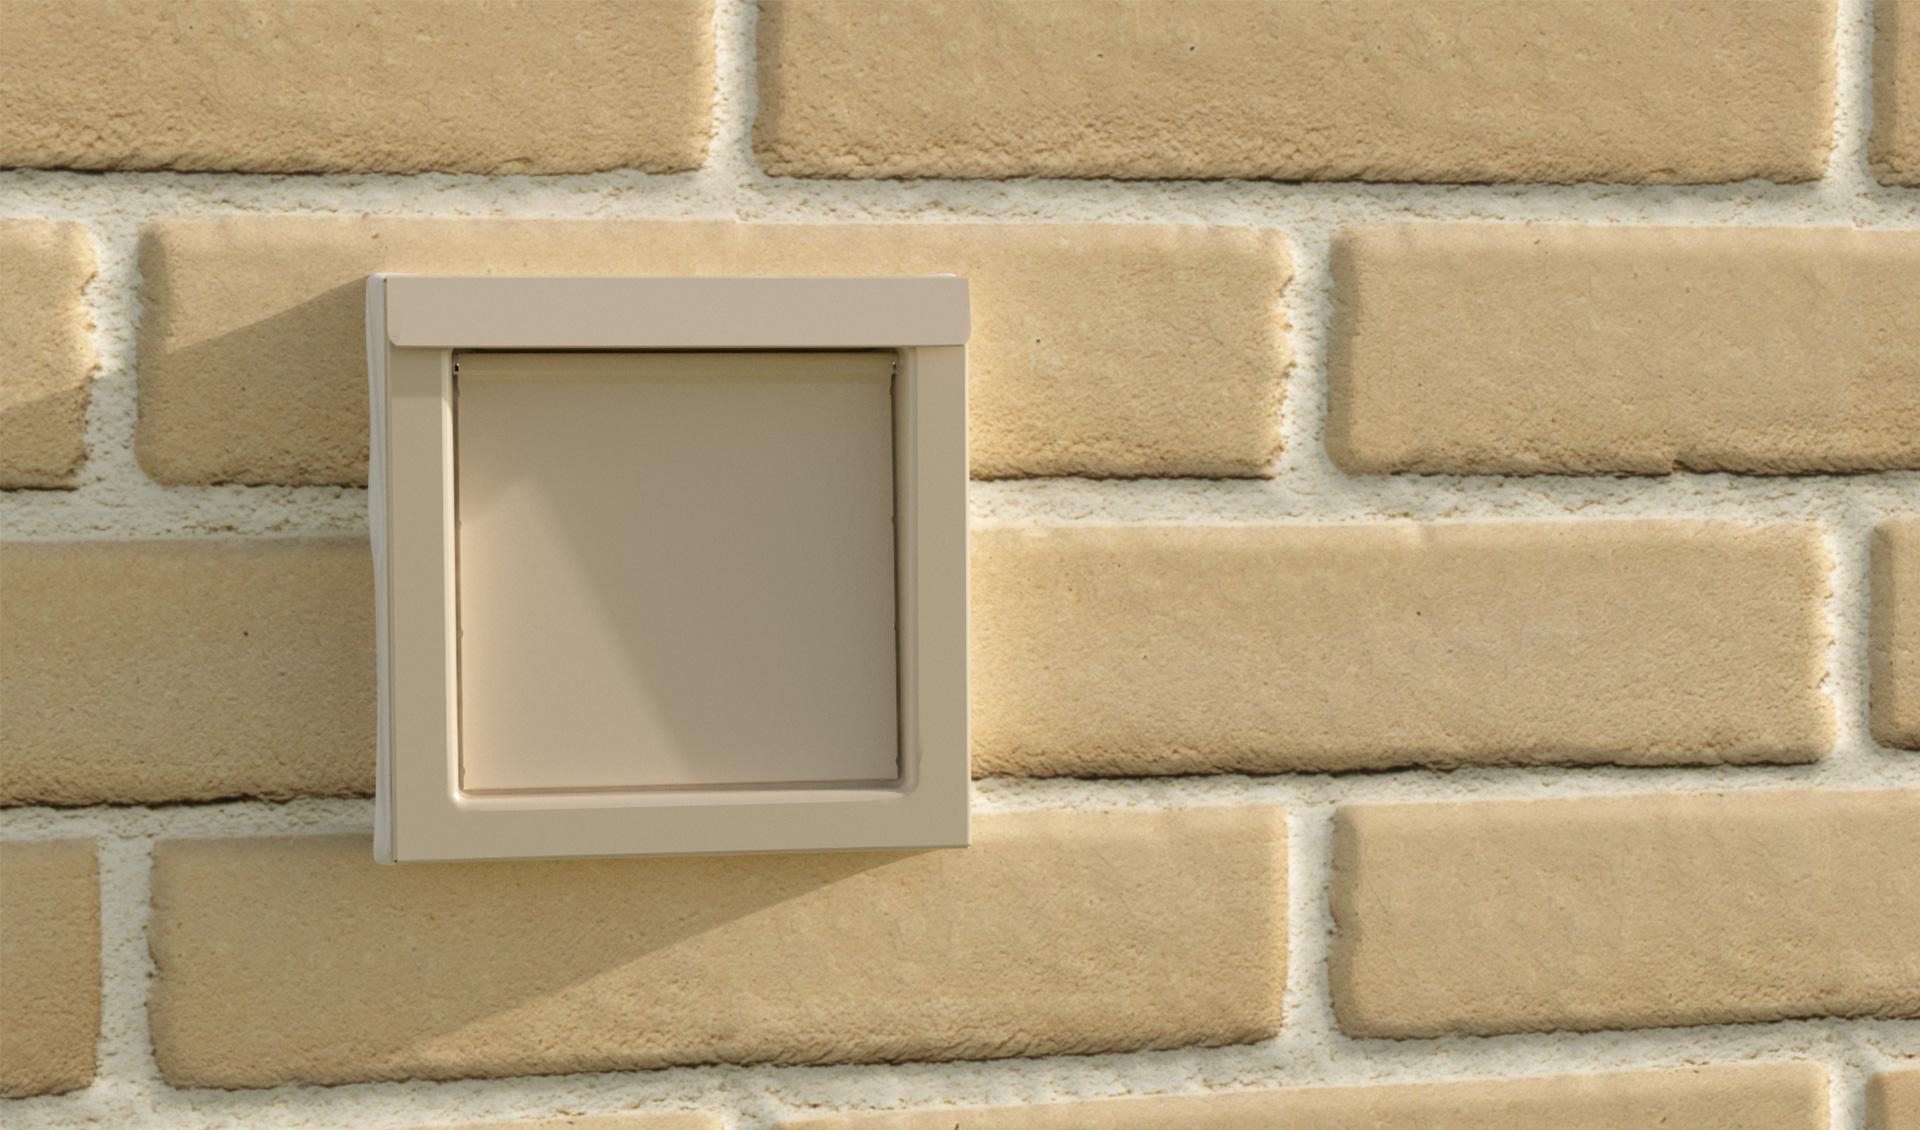
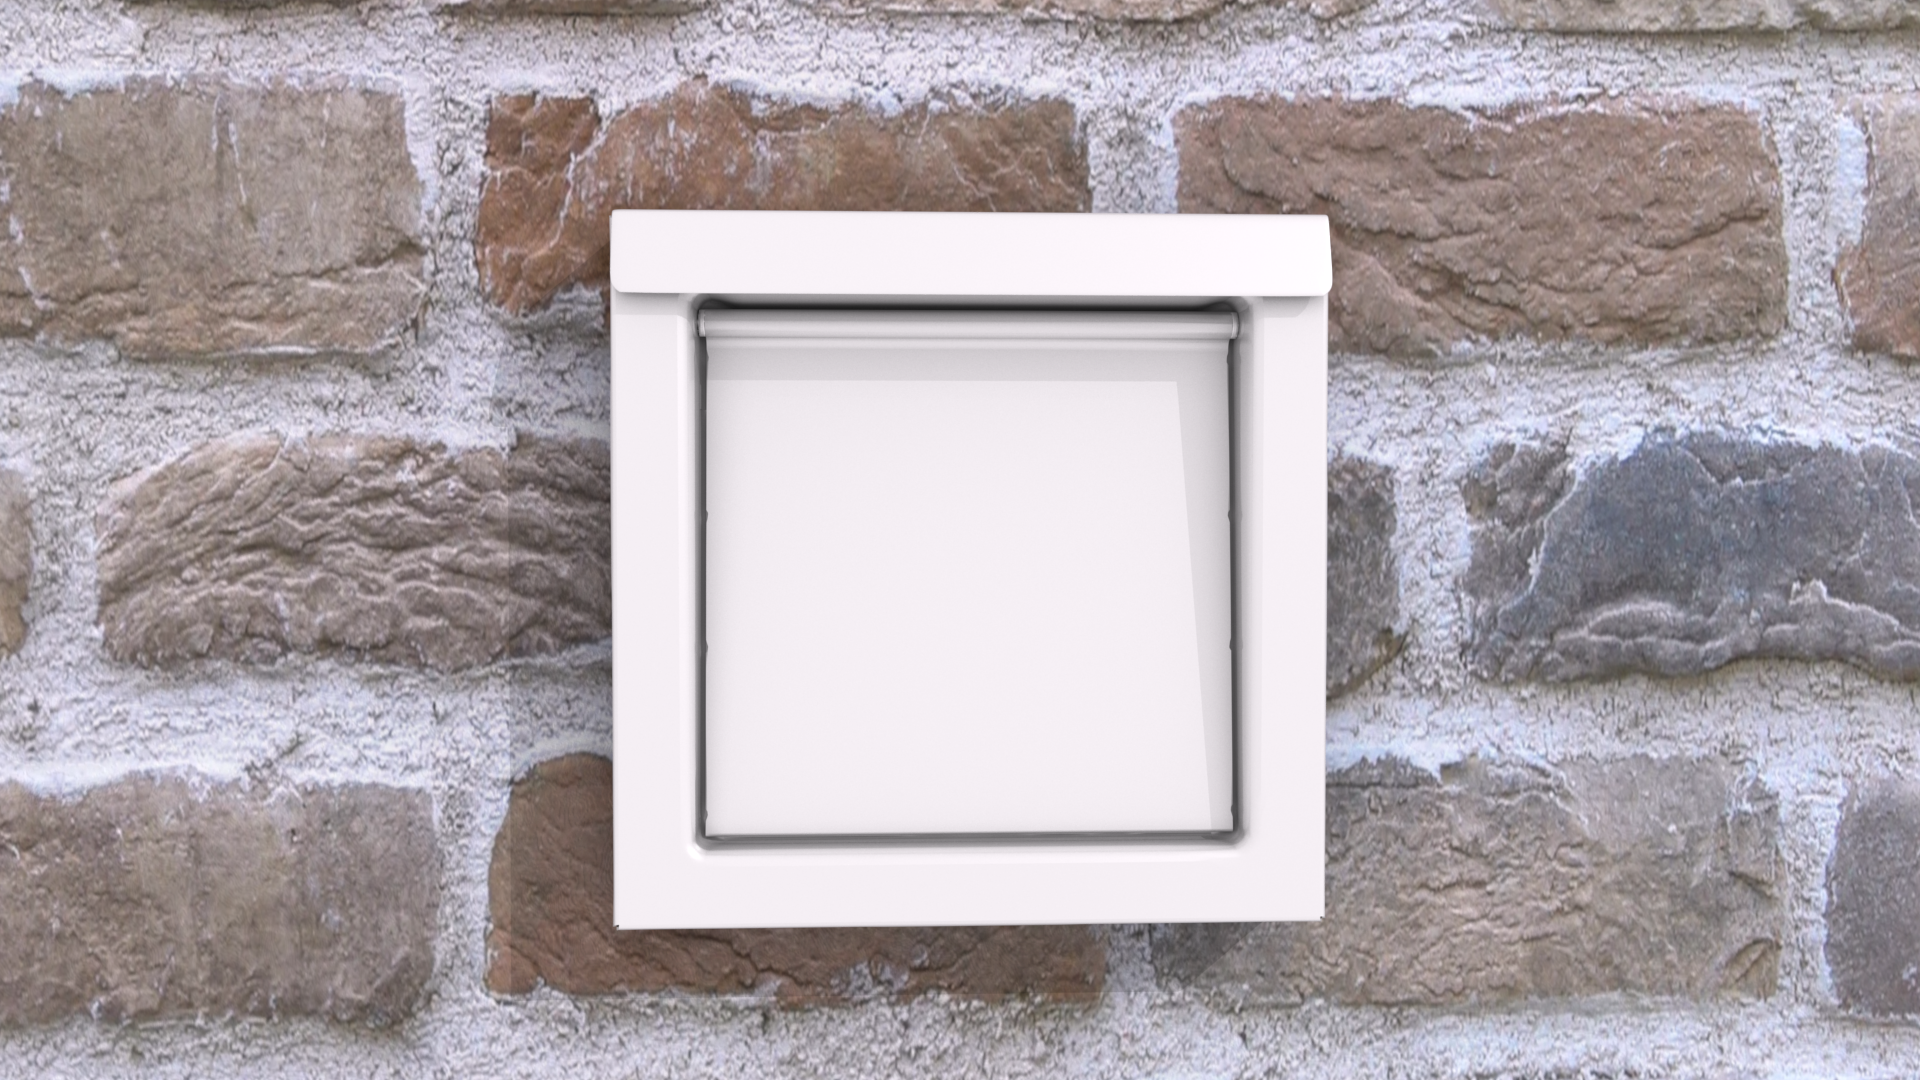
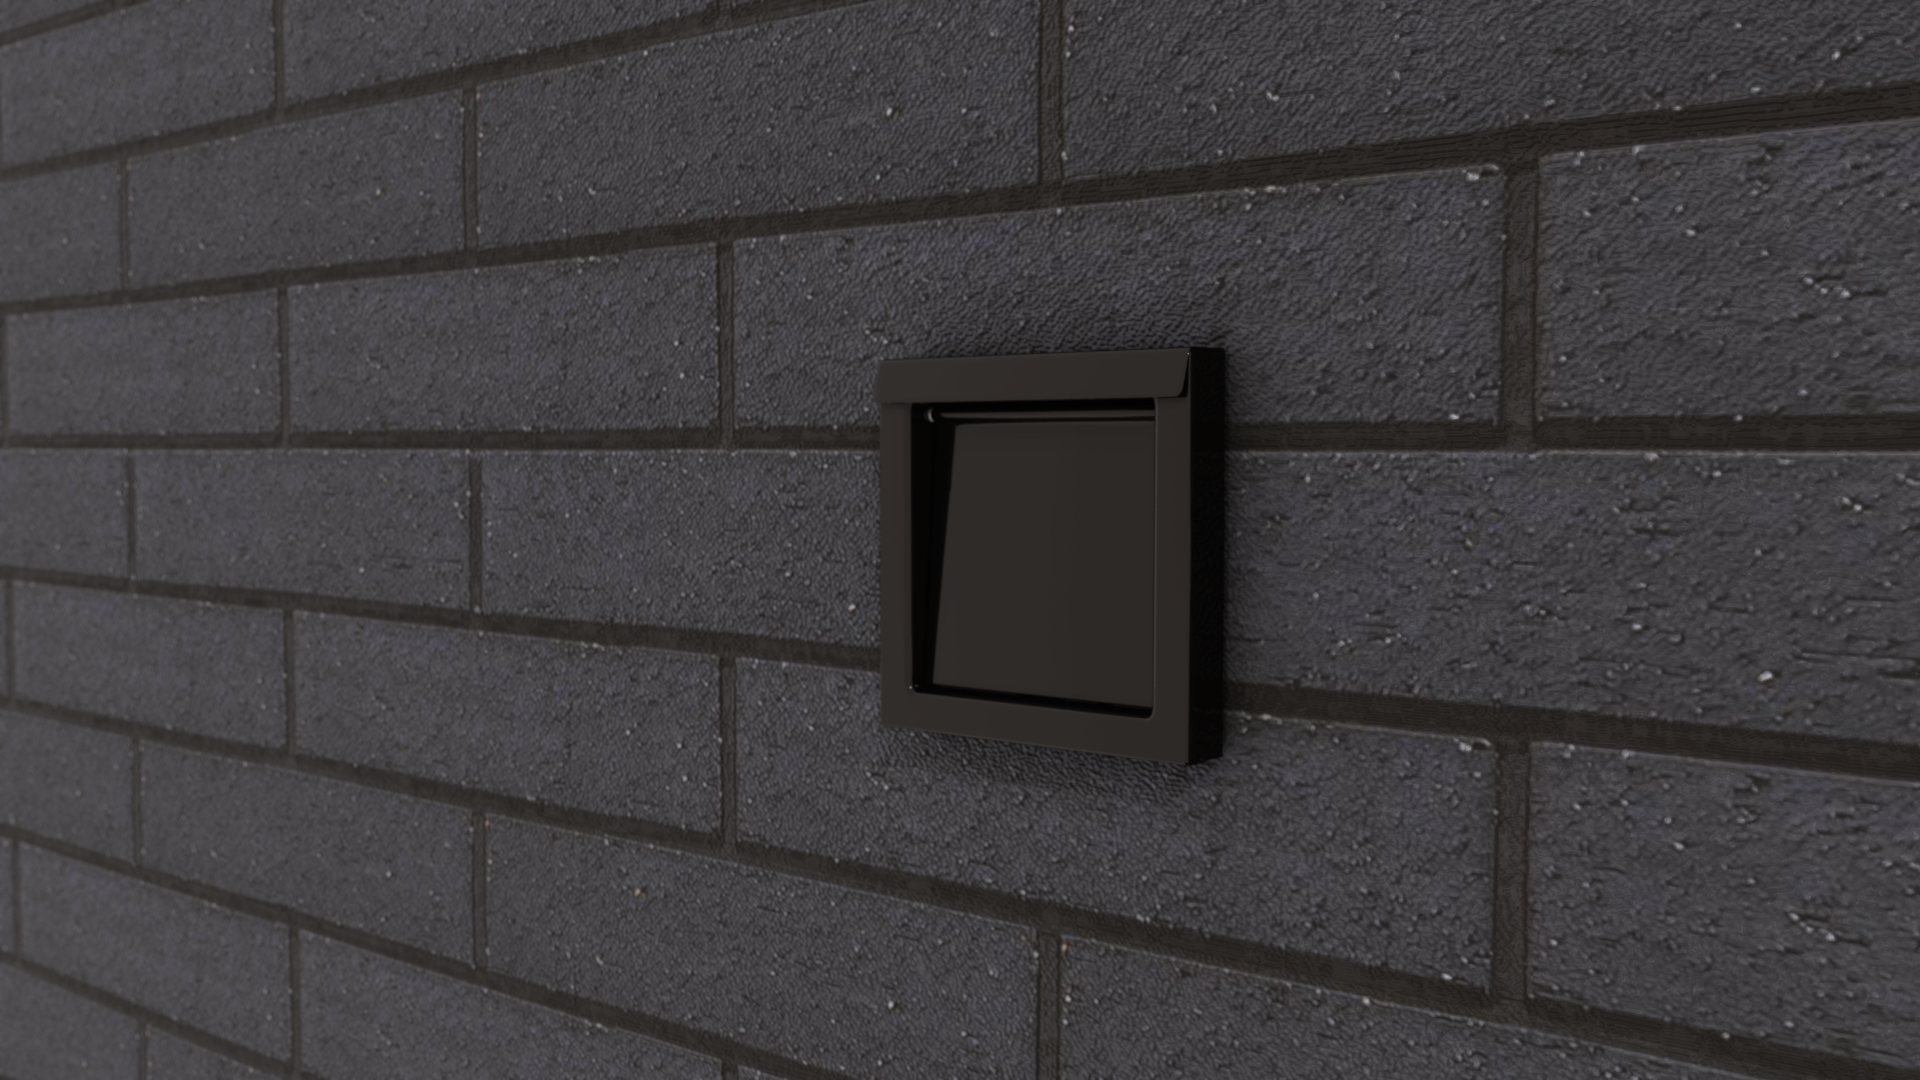
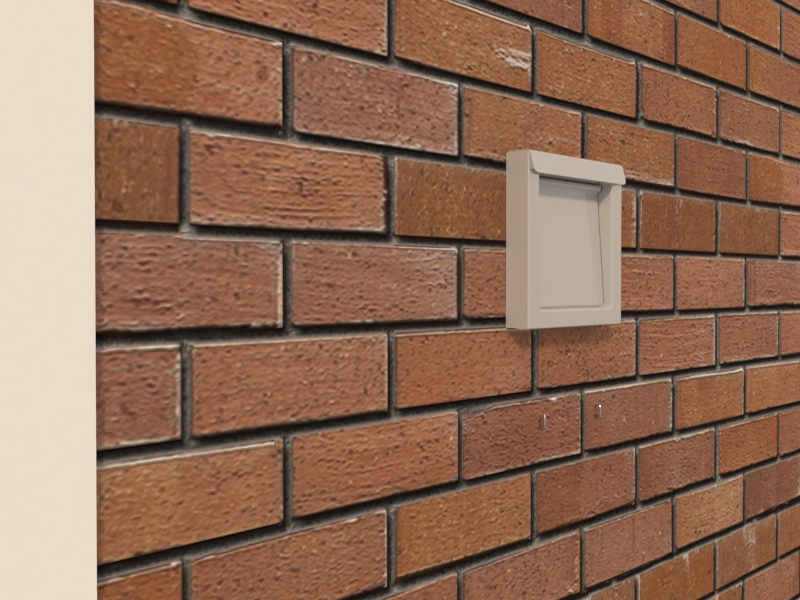
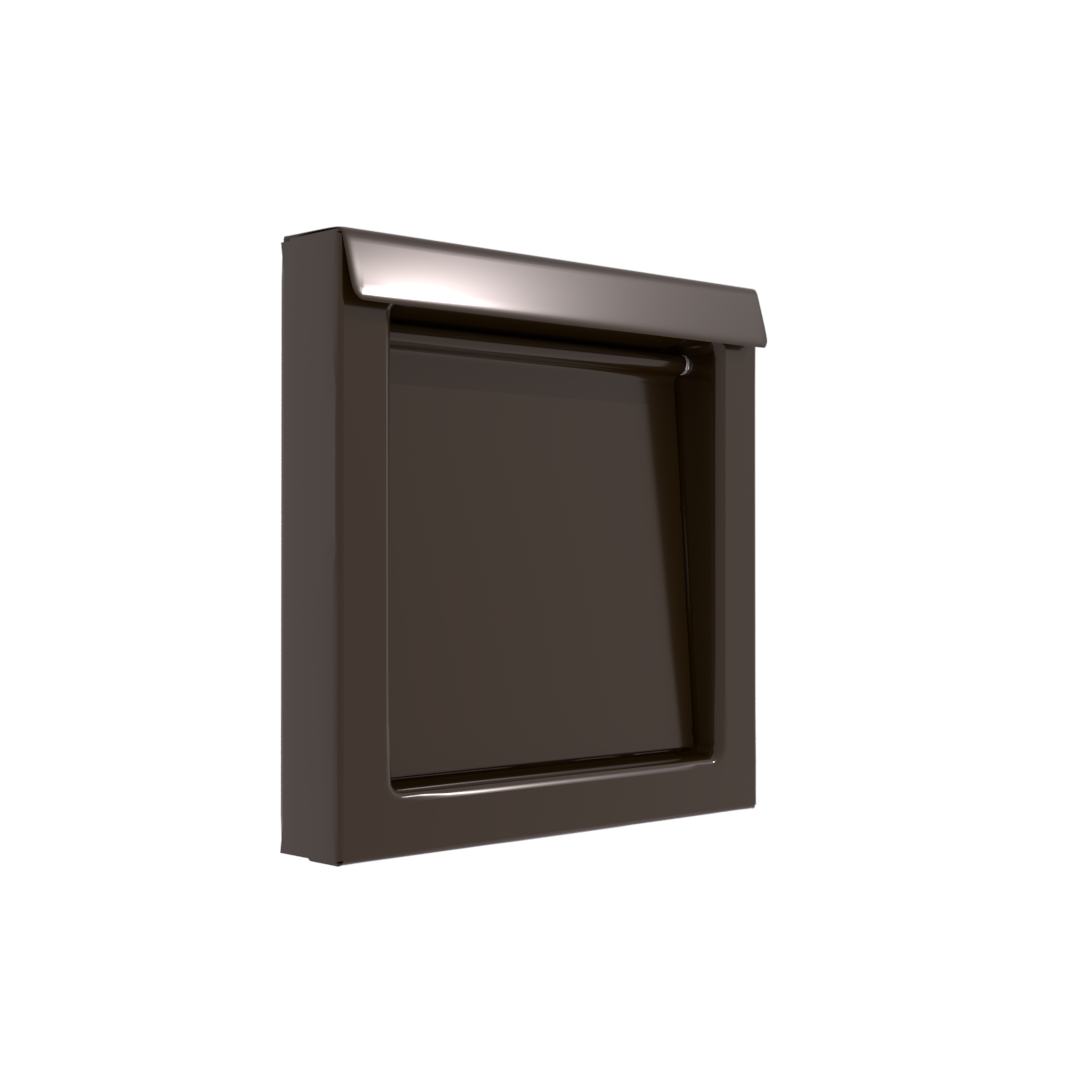
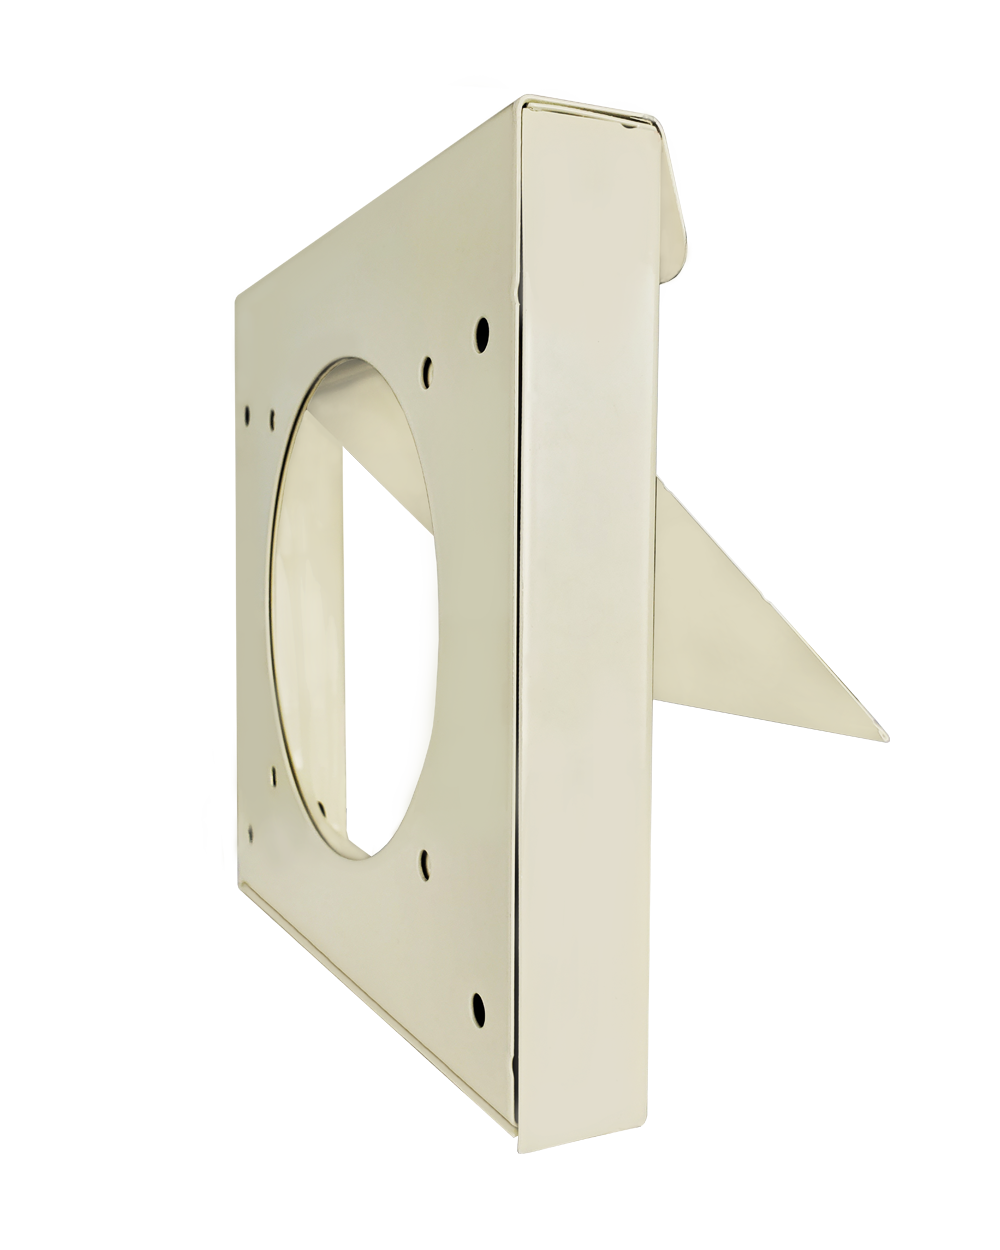
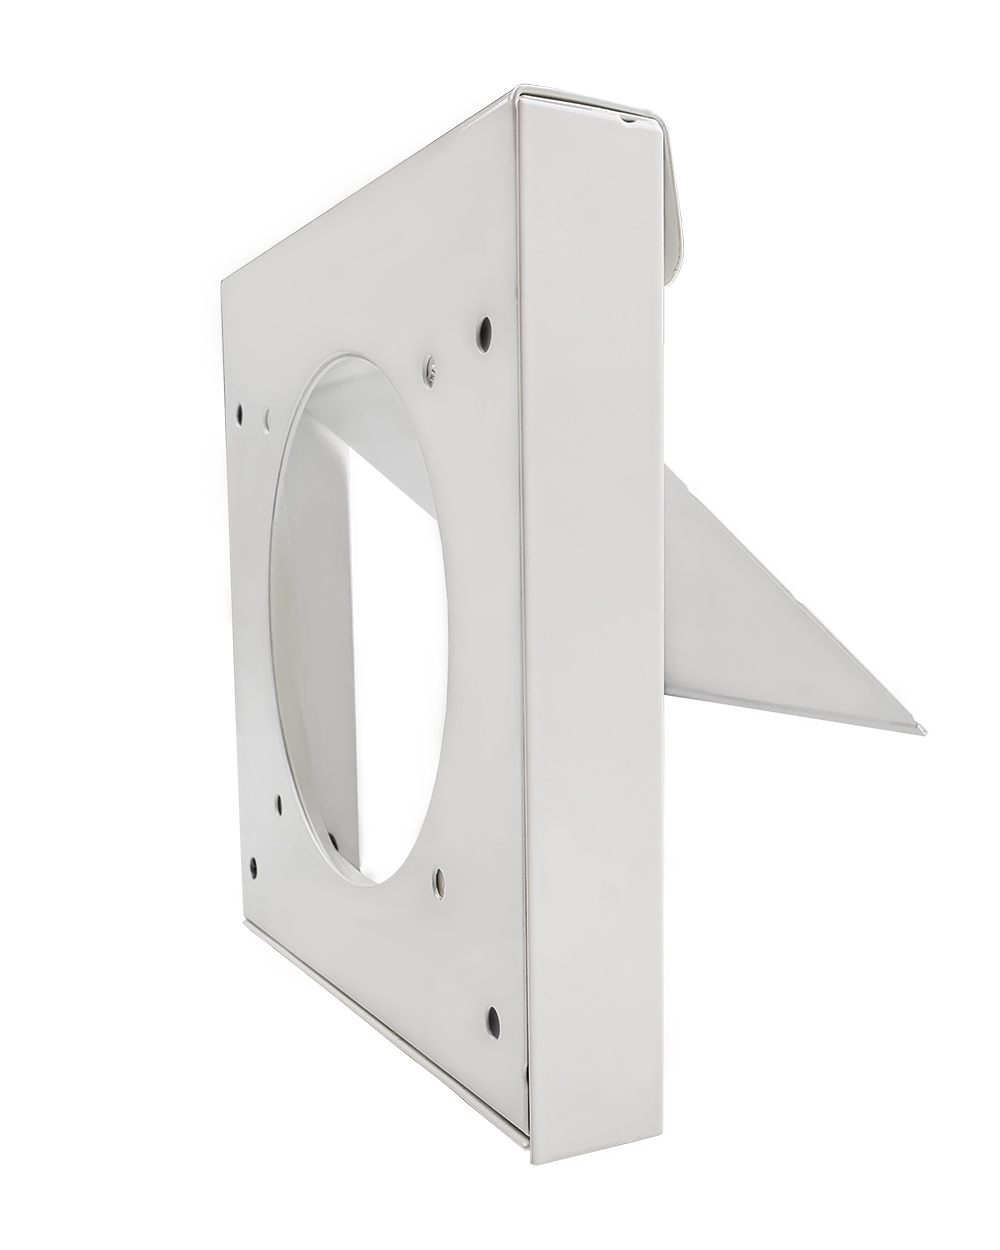
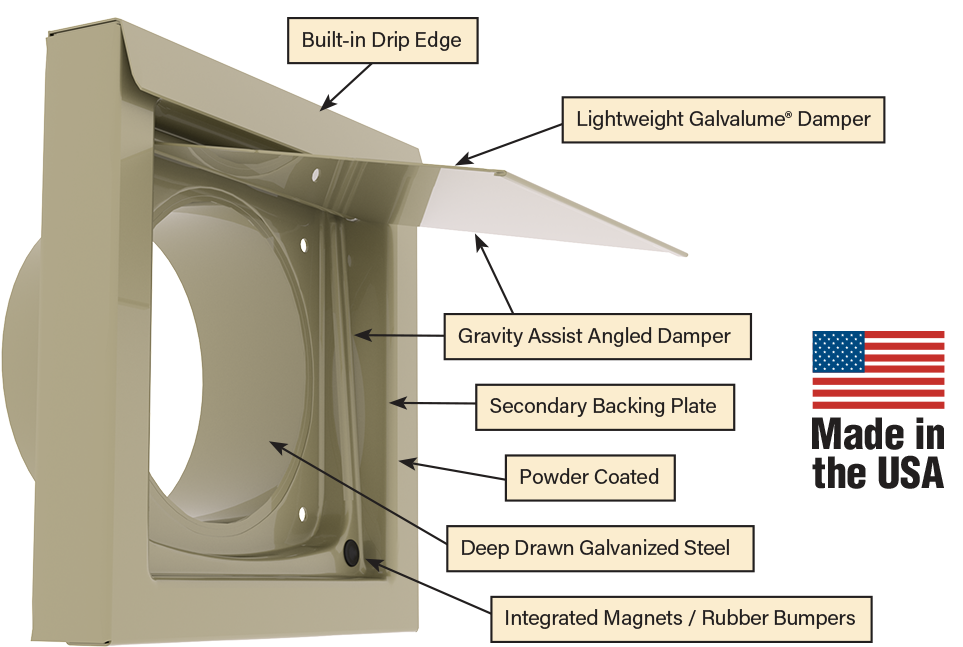
The NEW DryerWallVent. Included are all the features you love, and now still more. Even better? It's made with a deep-drawn Galvalume® steel manufacturing process.
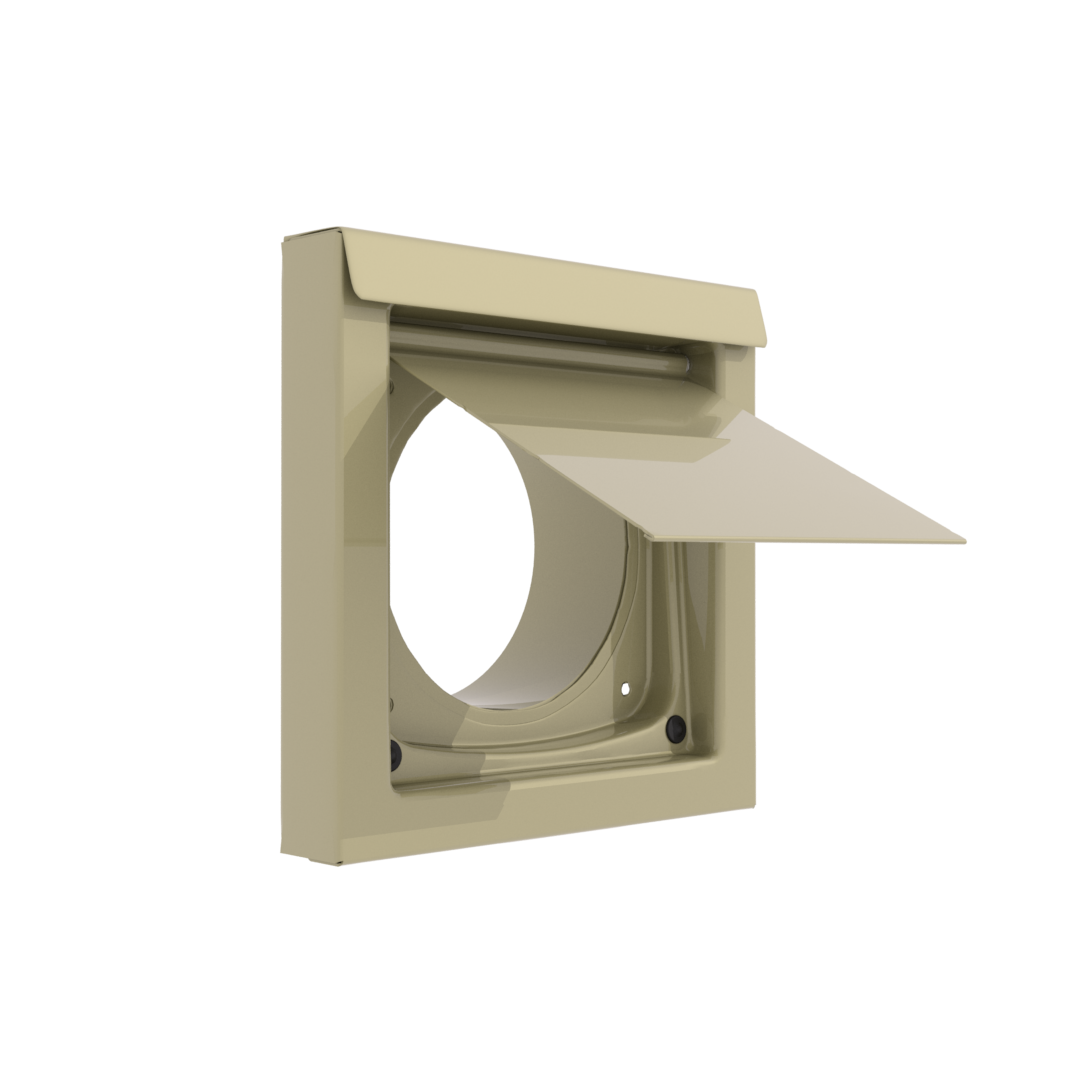
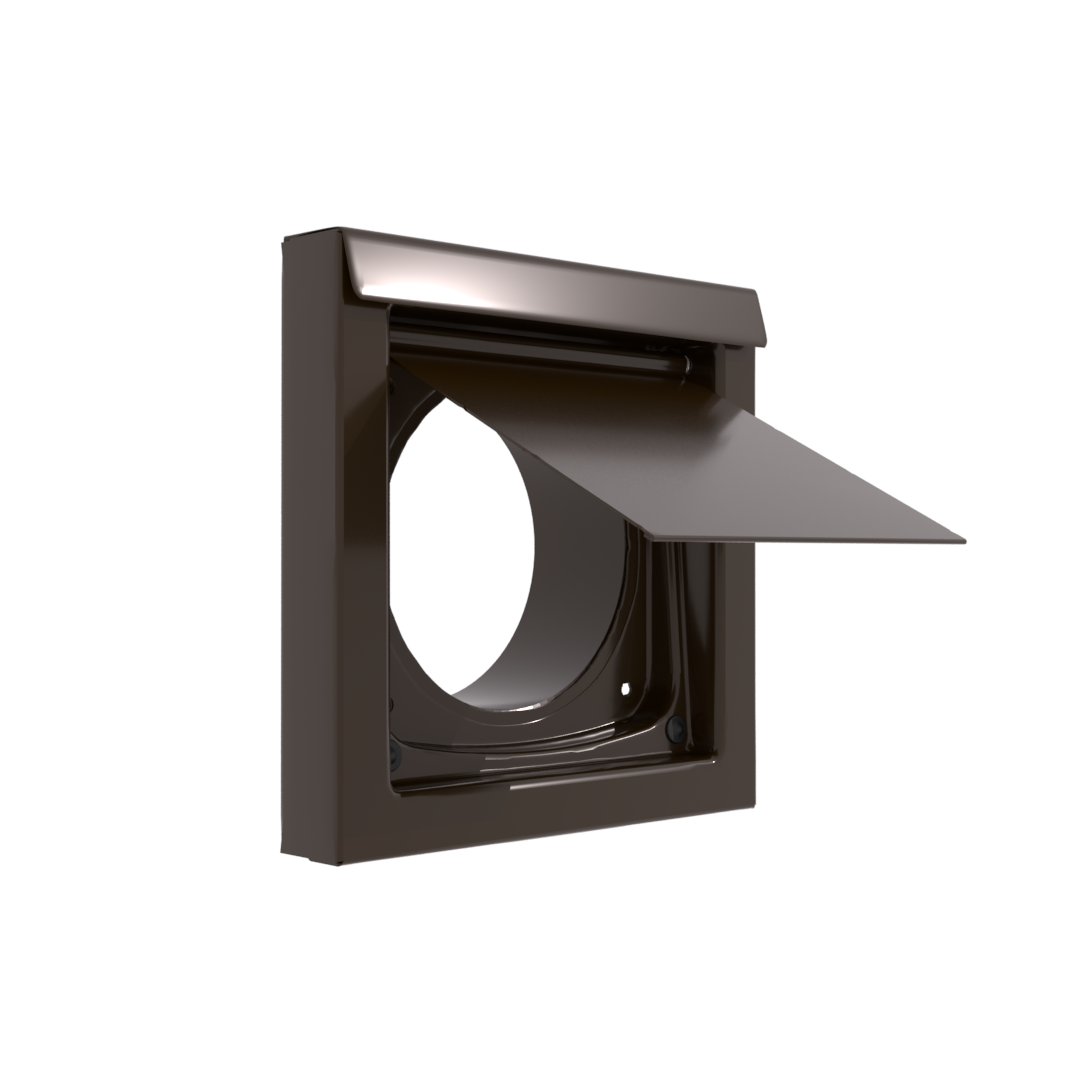
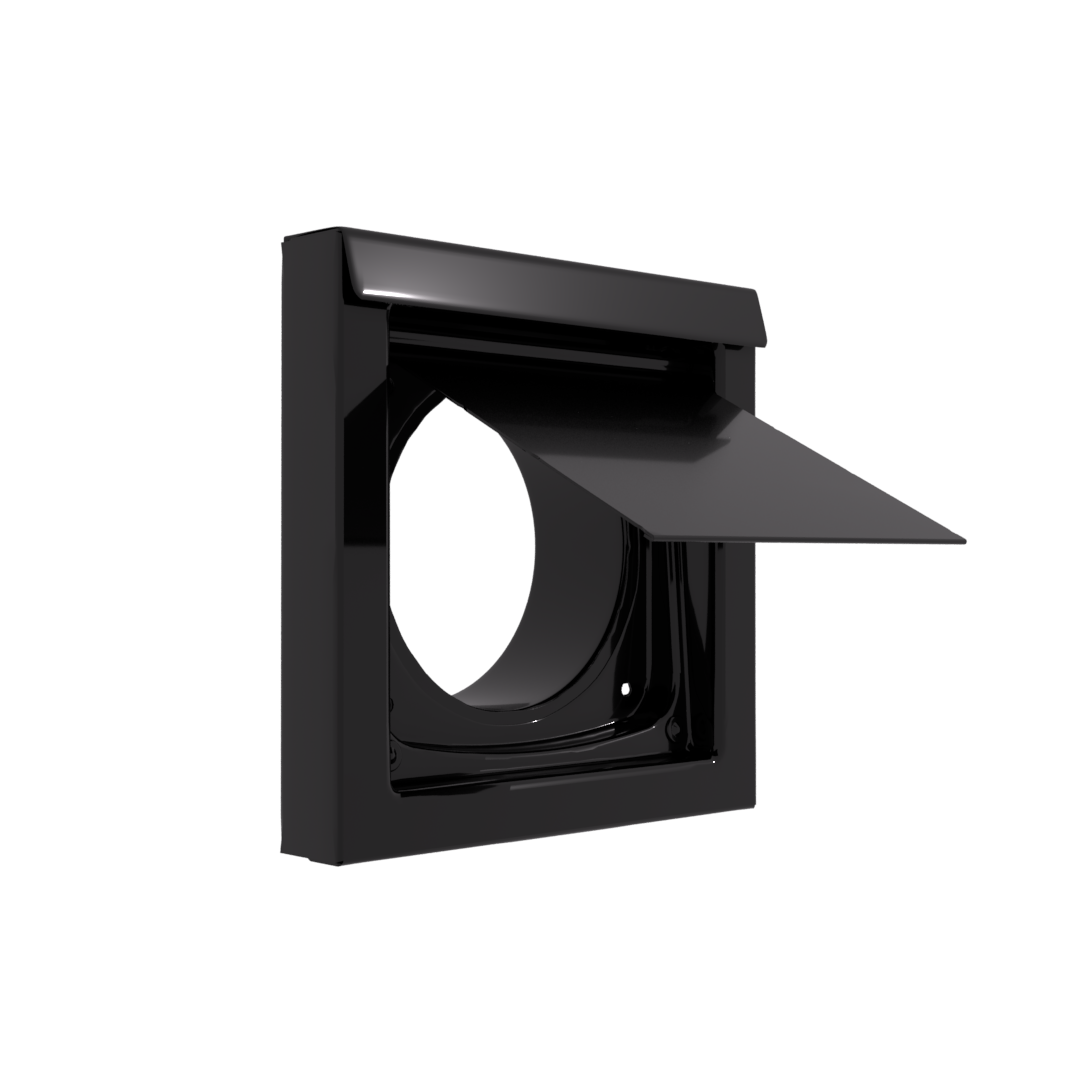
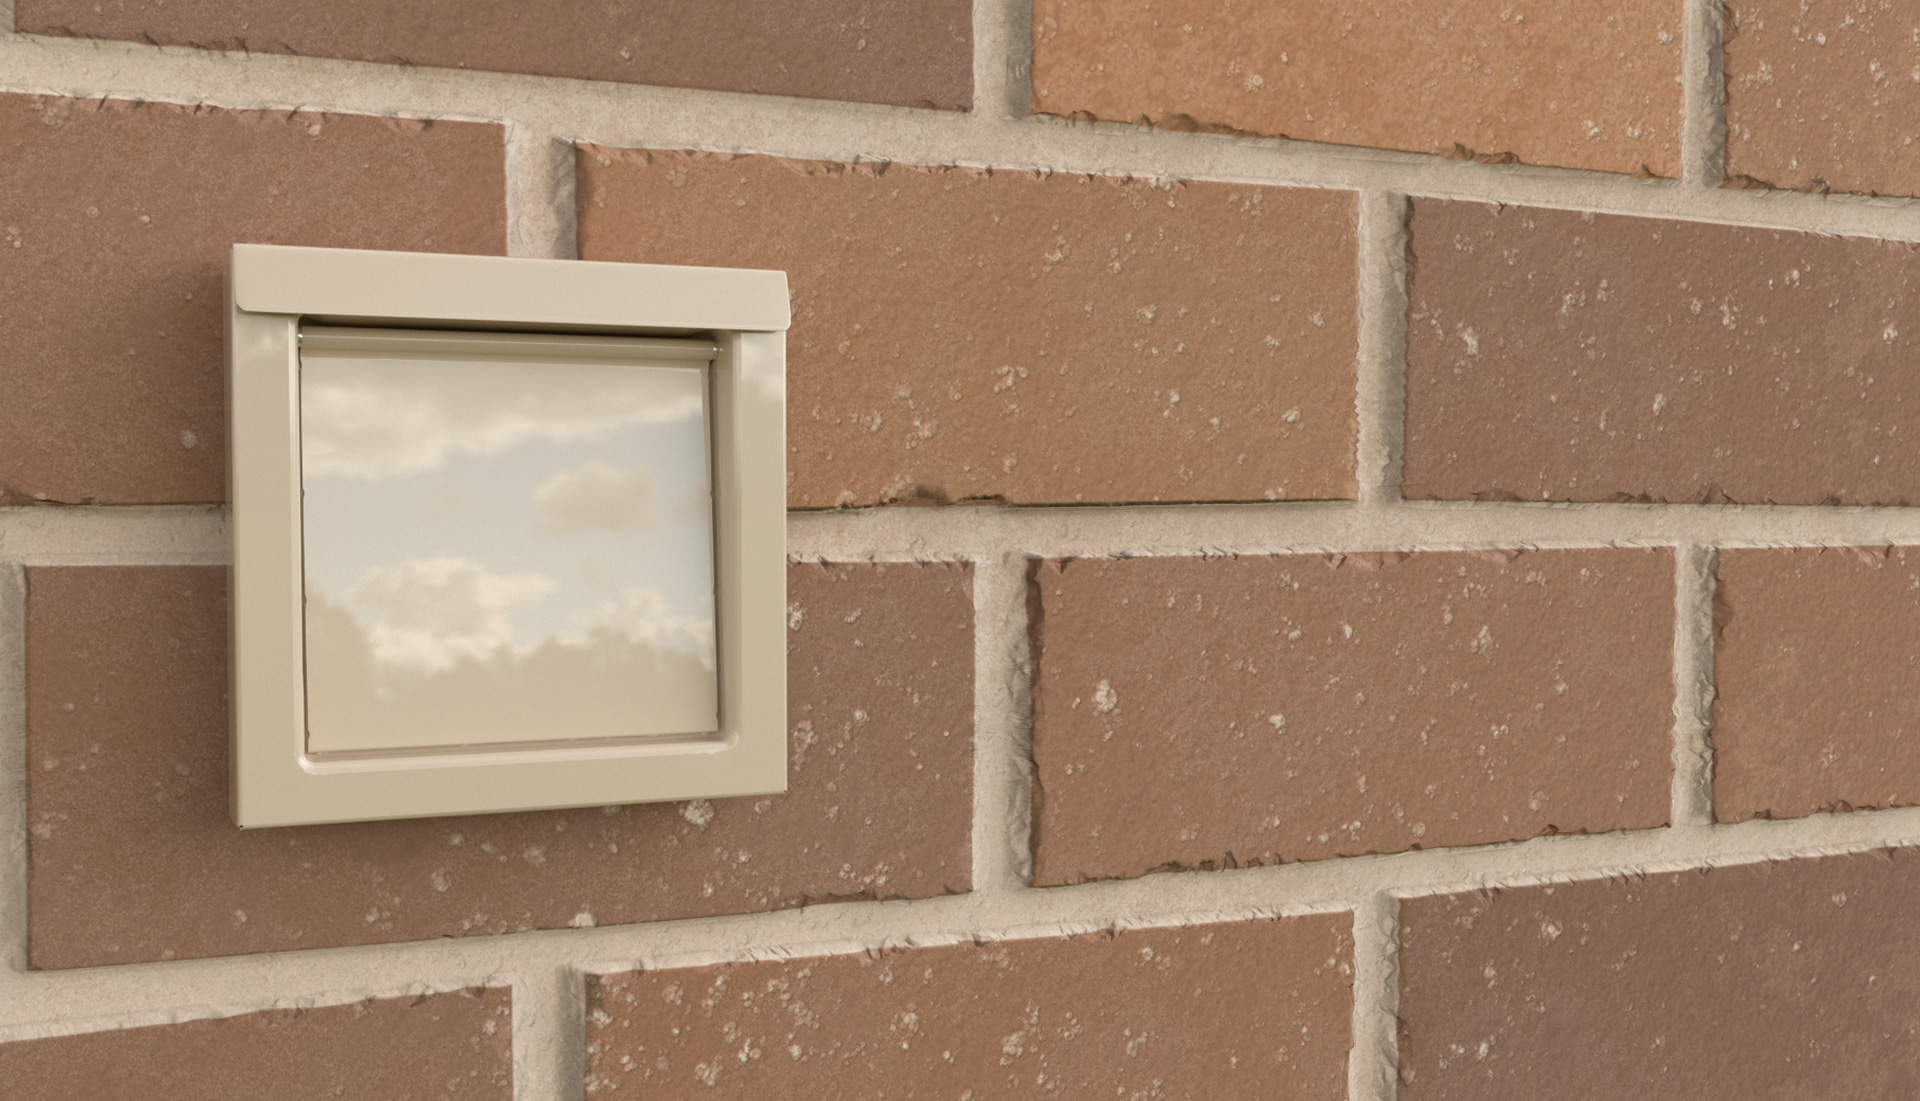
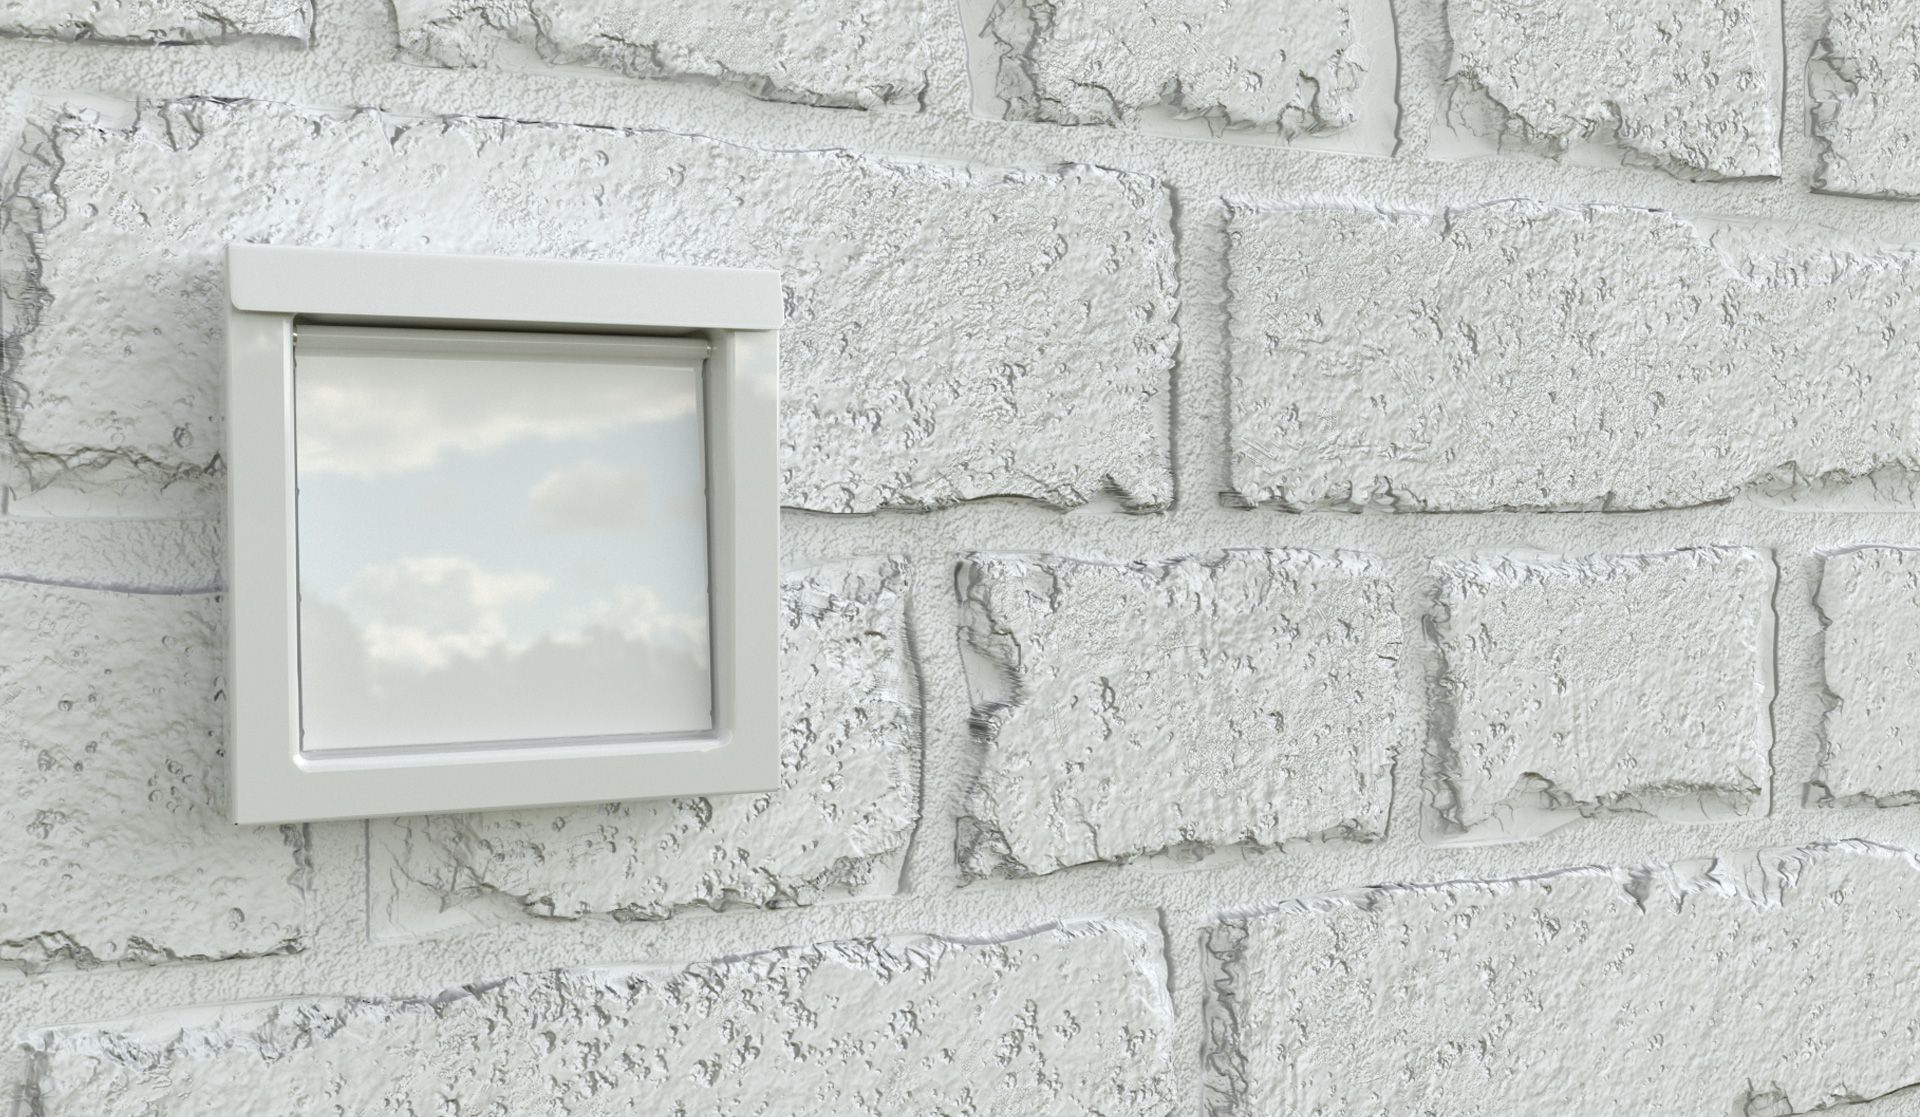
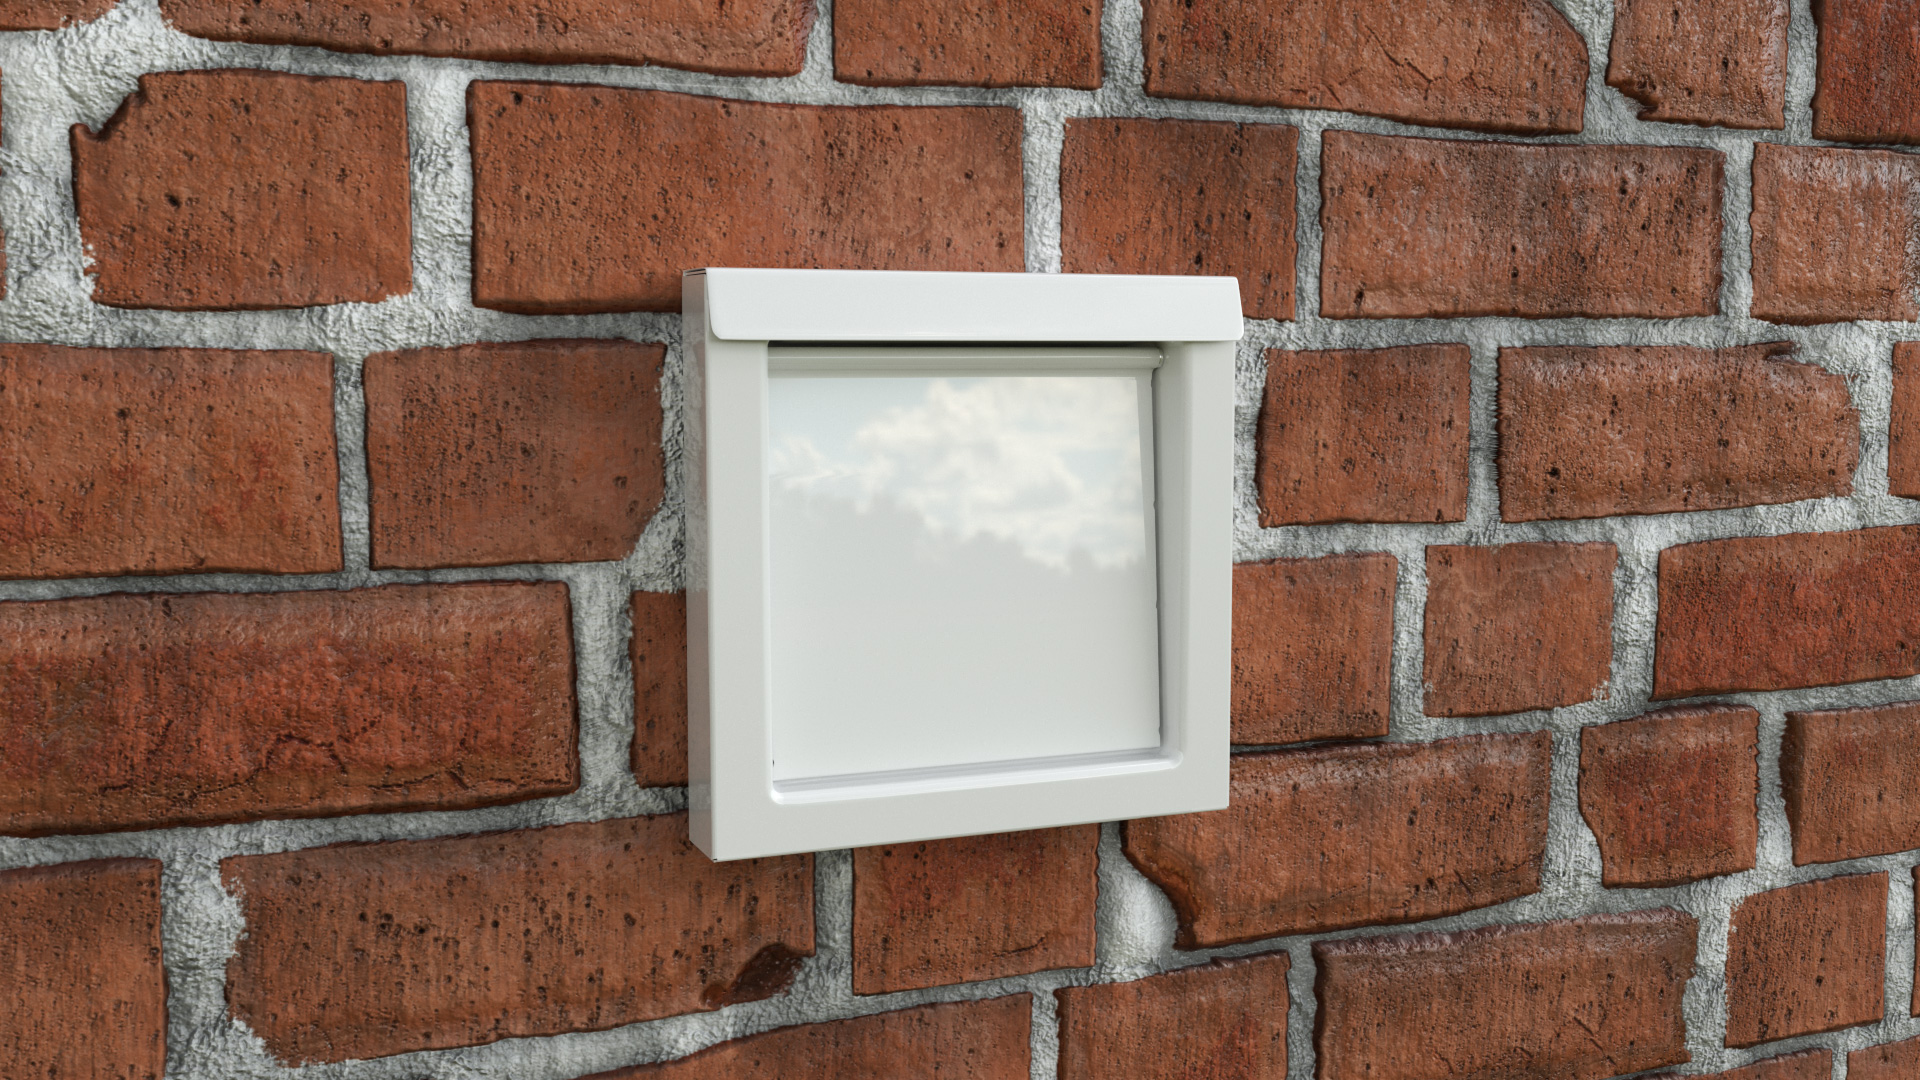
Alone, this type of solid construction stands up to the elements. Add PPG Envirocron® weather-resistant powder coating, and you've got an exterior vent that's built to last and contributes nicely to exterior aesthetics.
Gauge Your Expectations
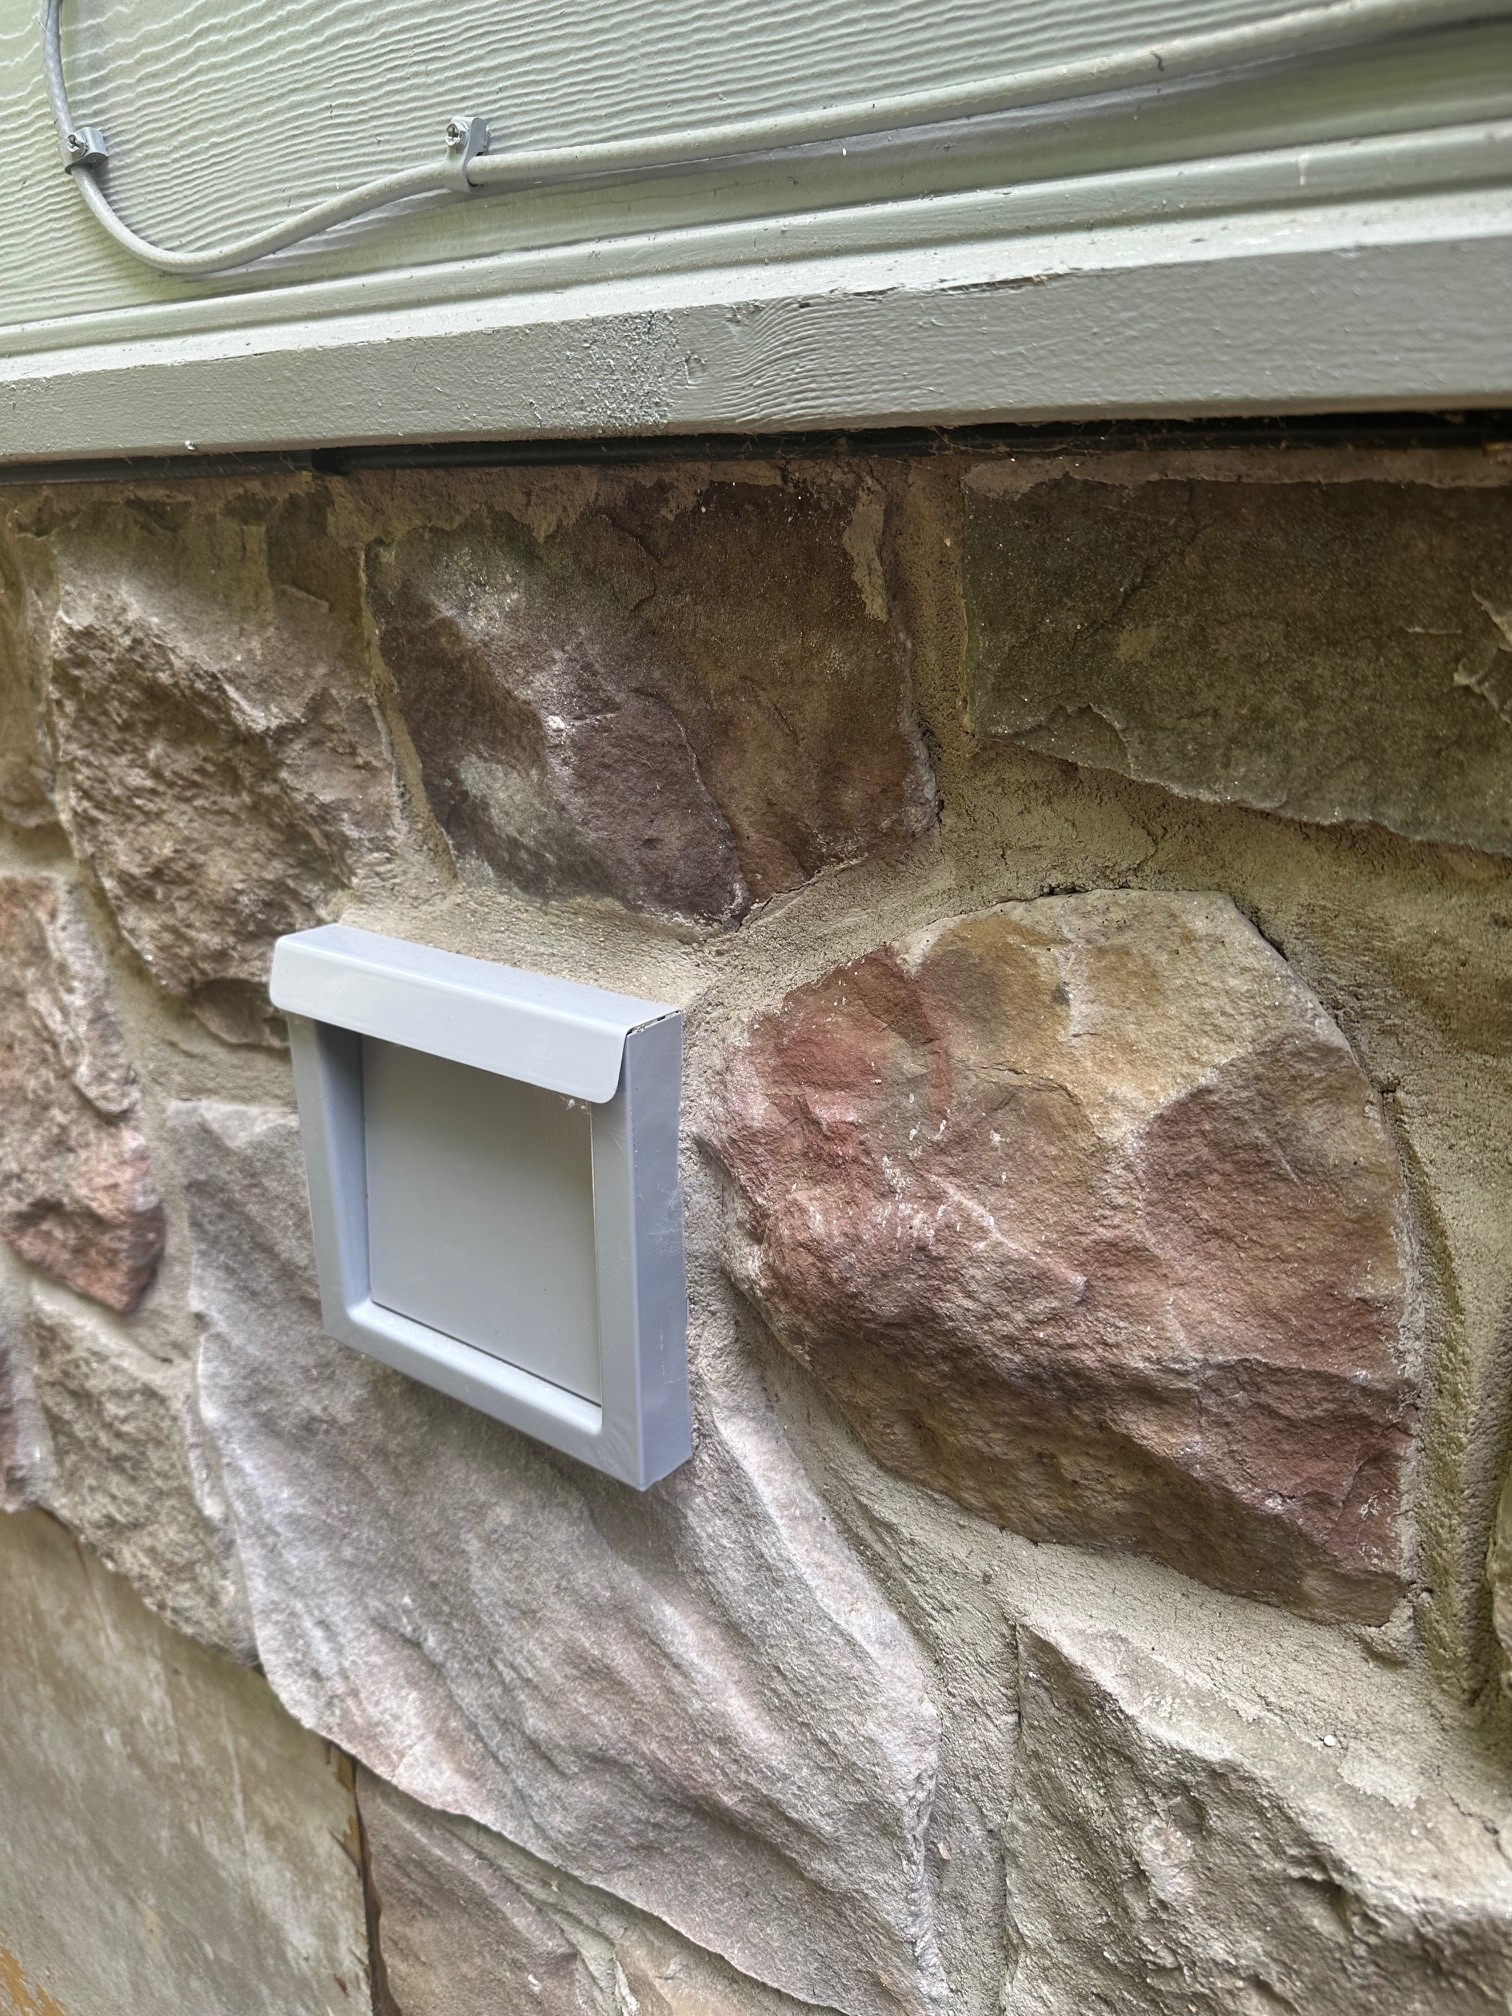
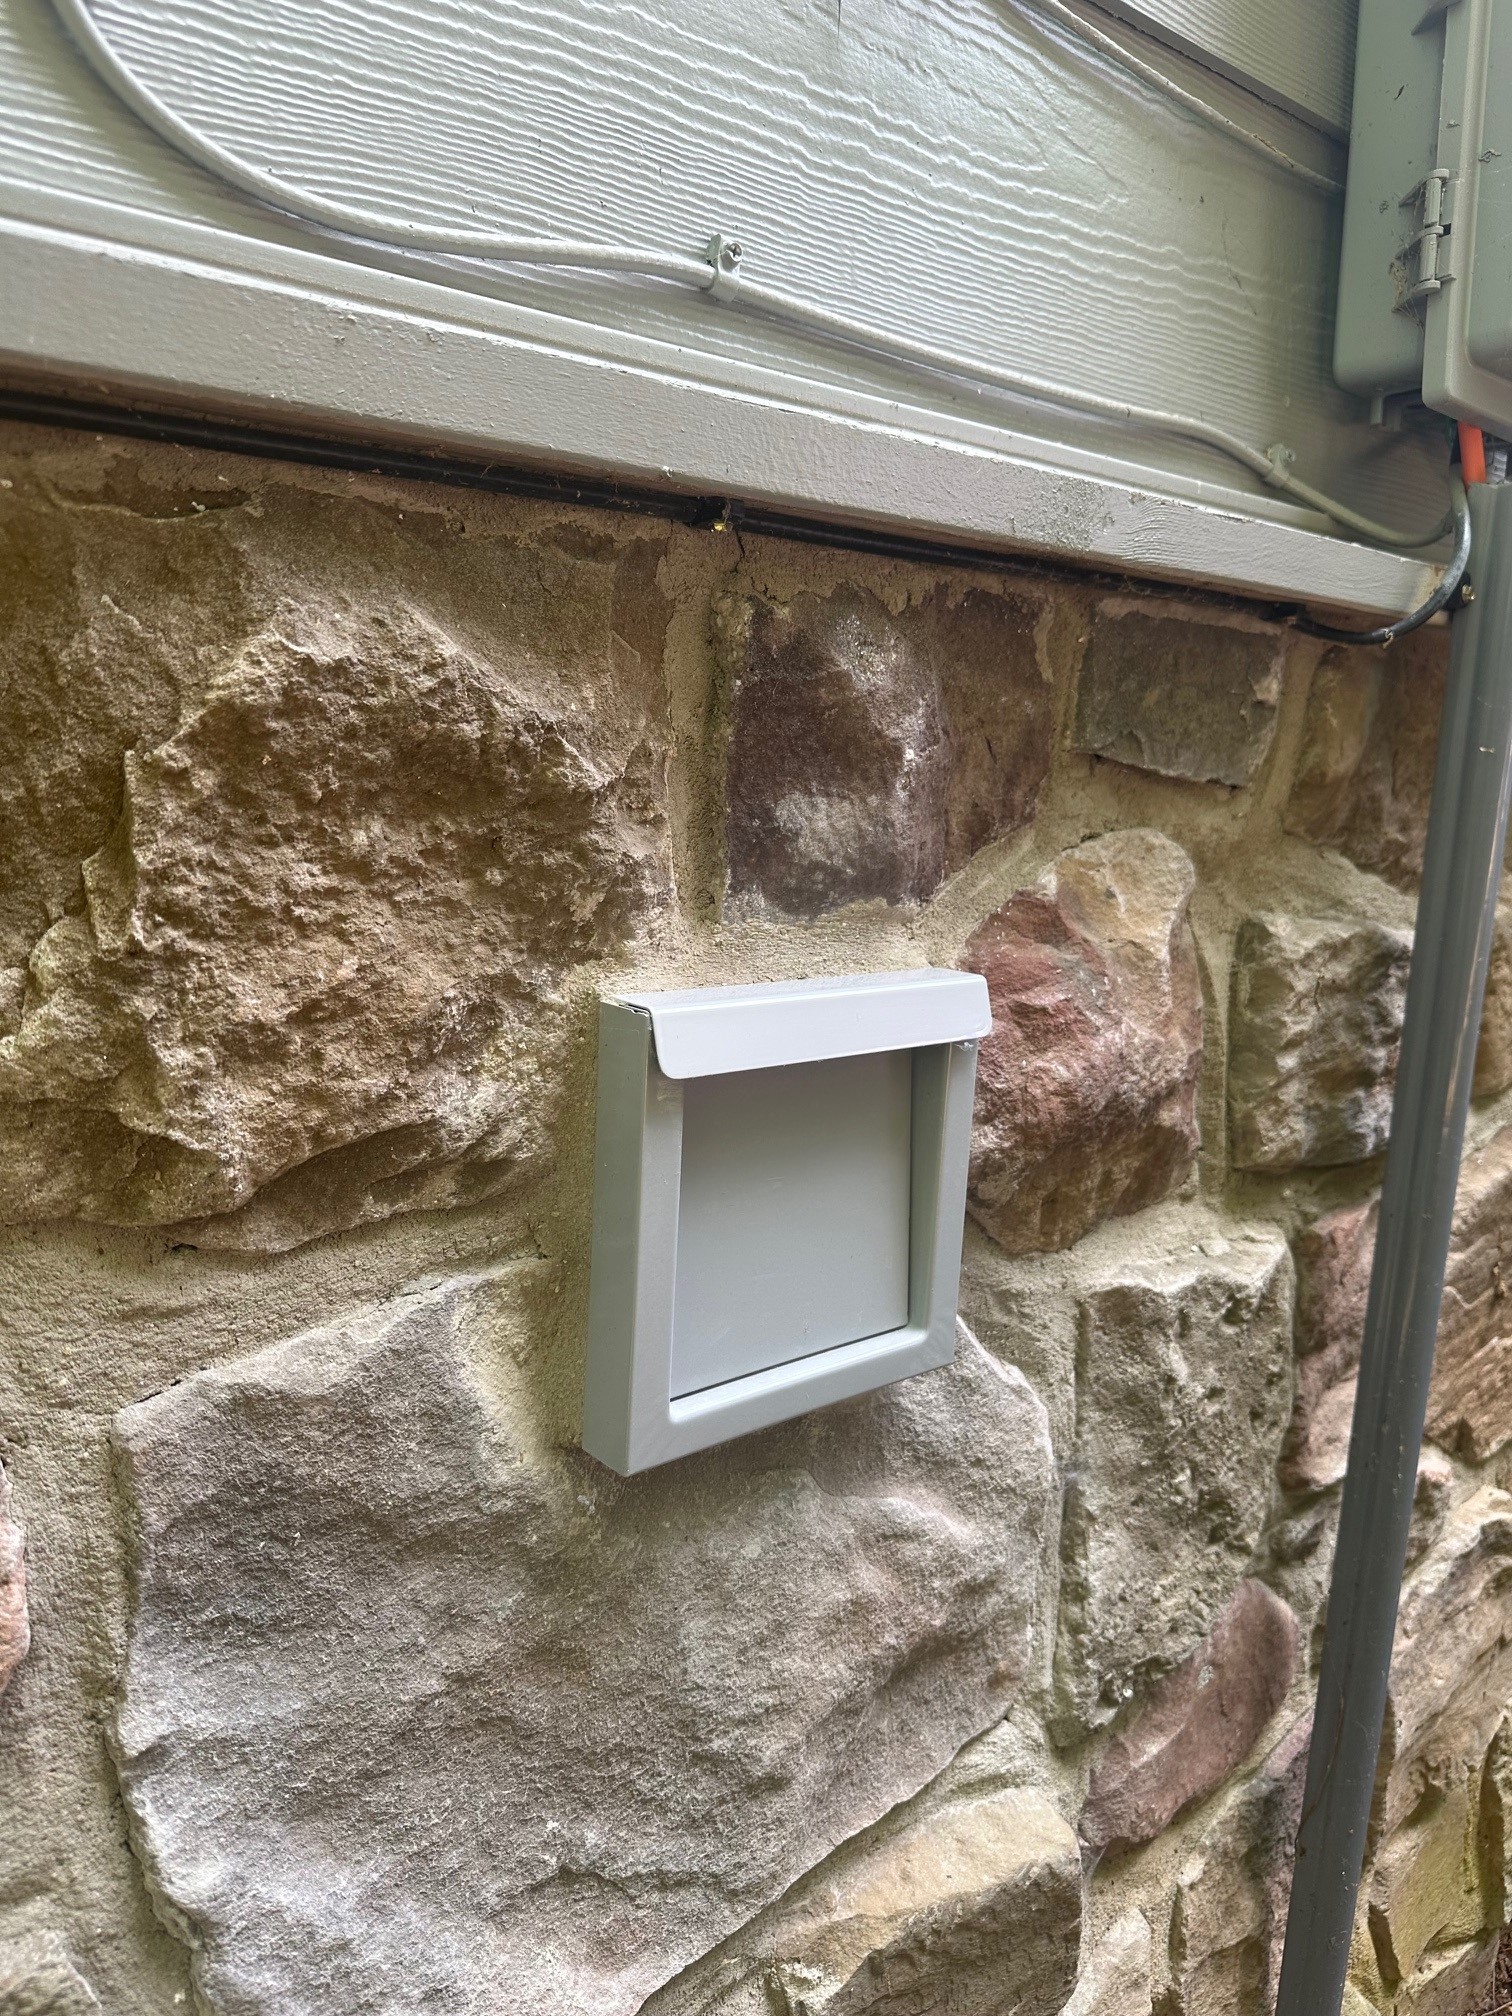
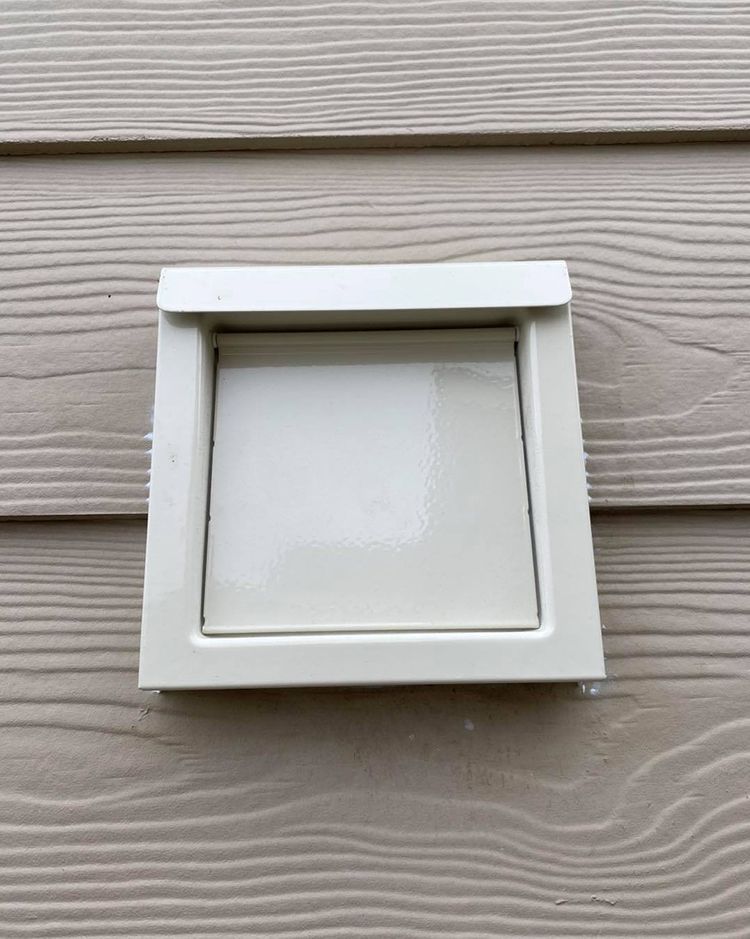
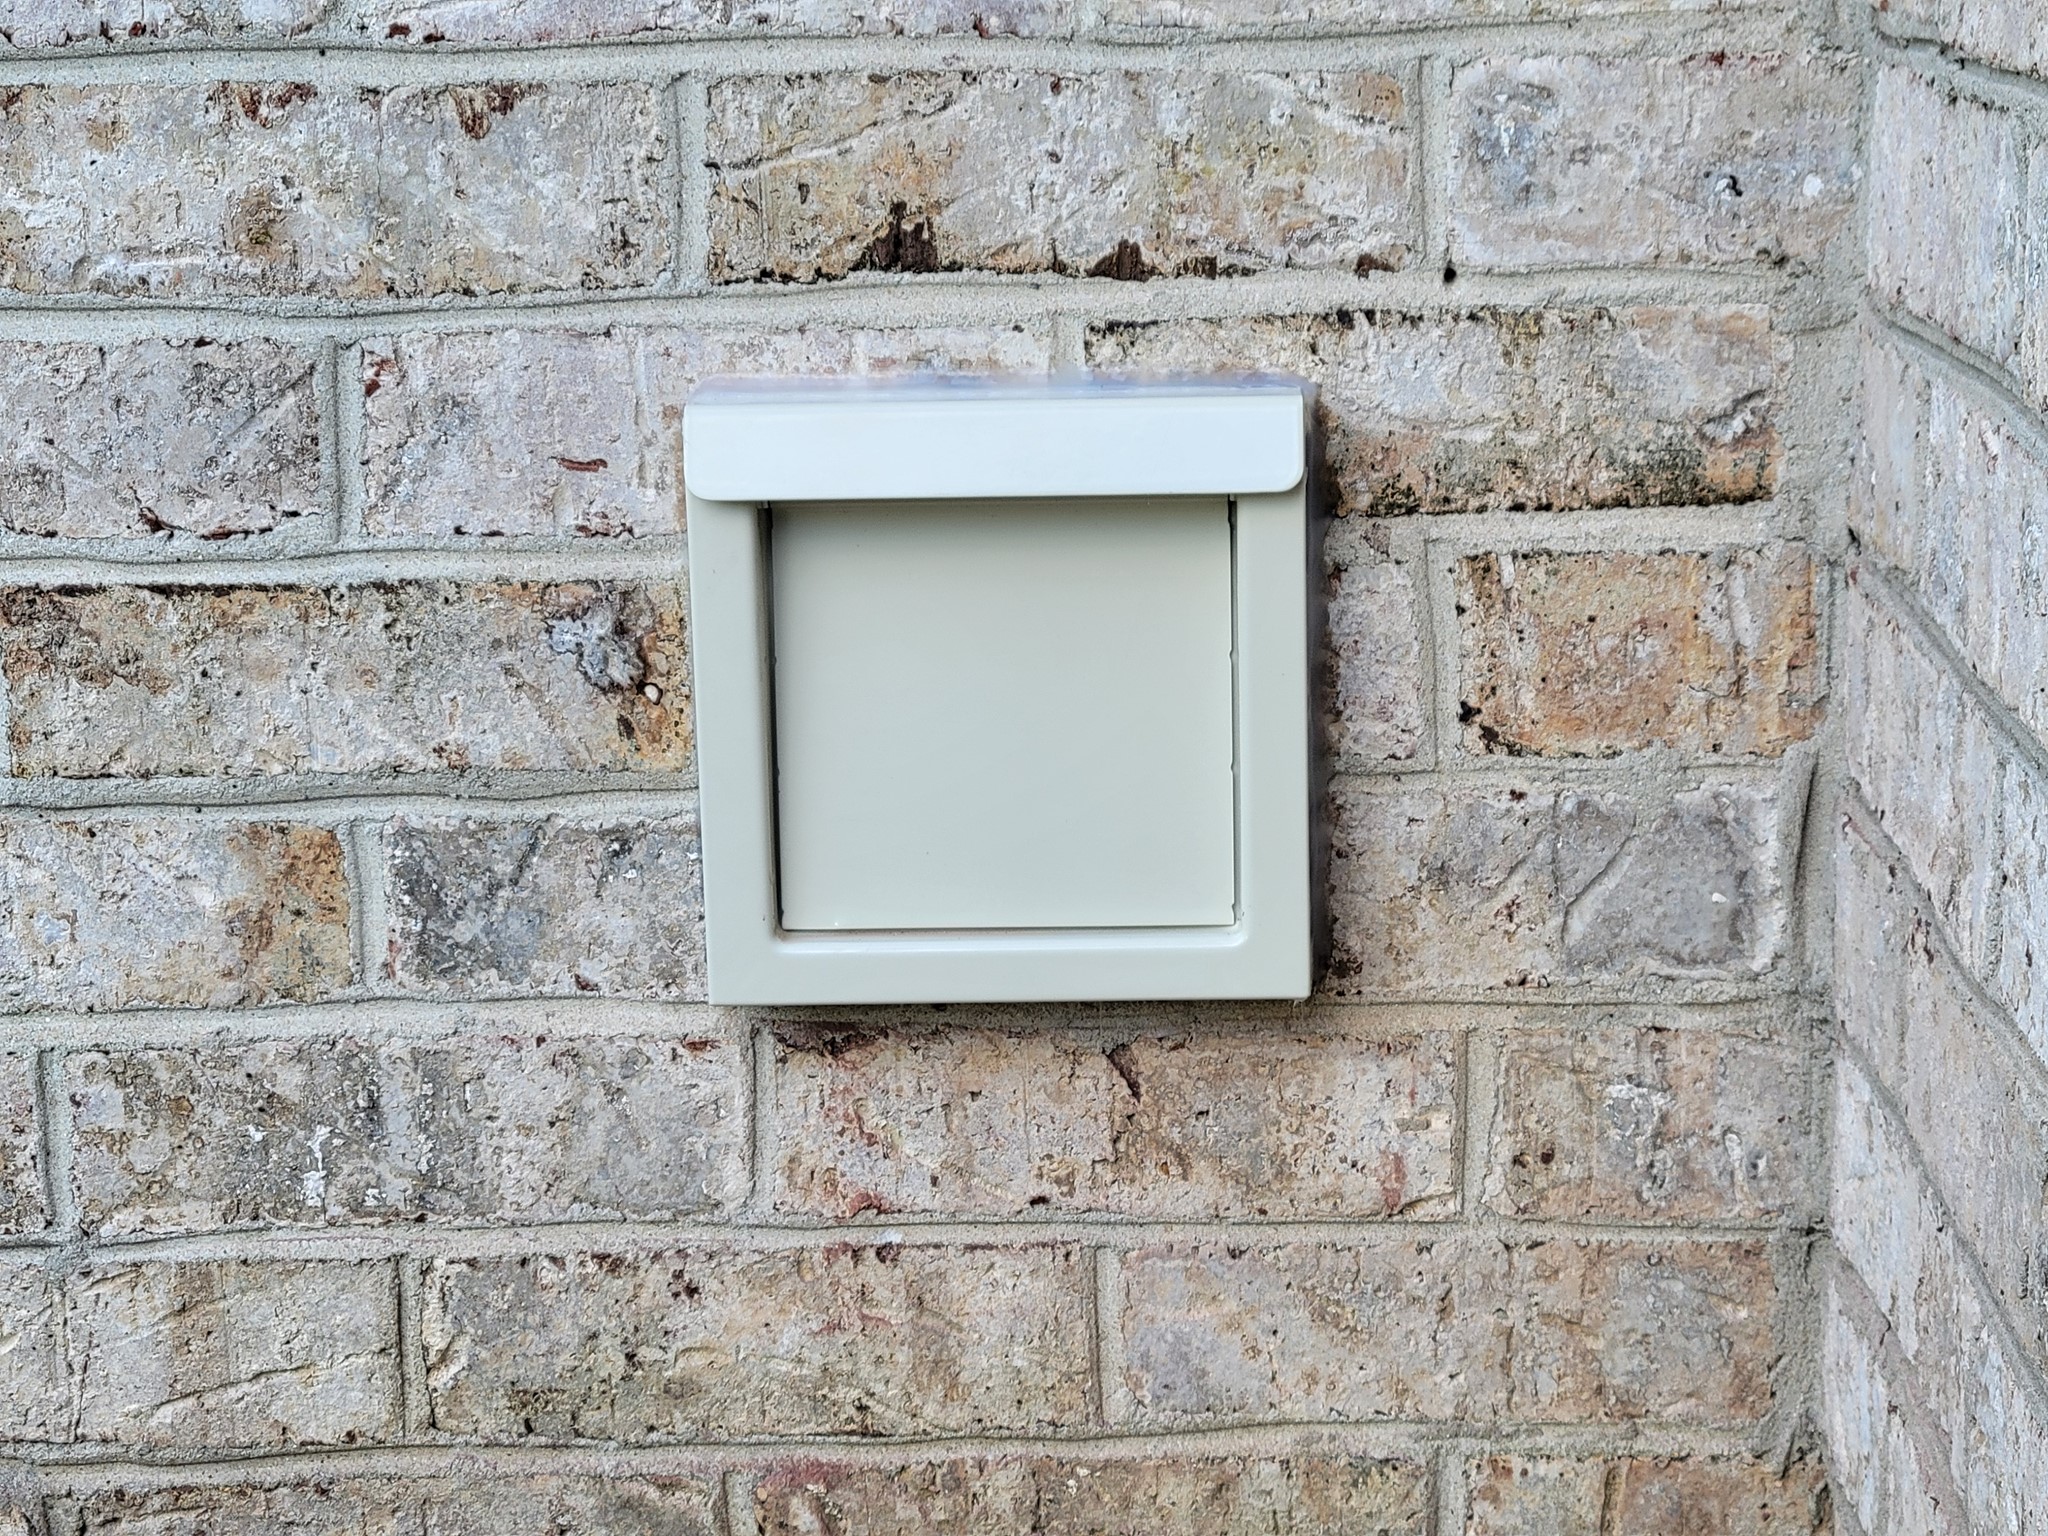
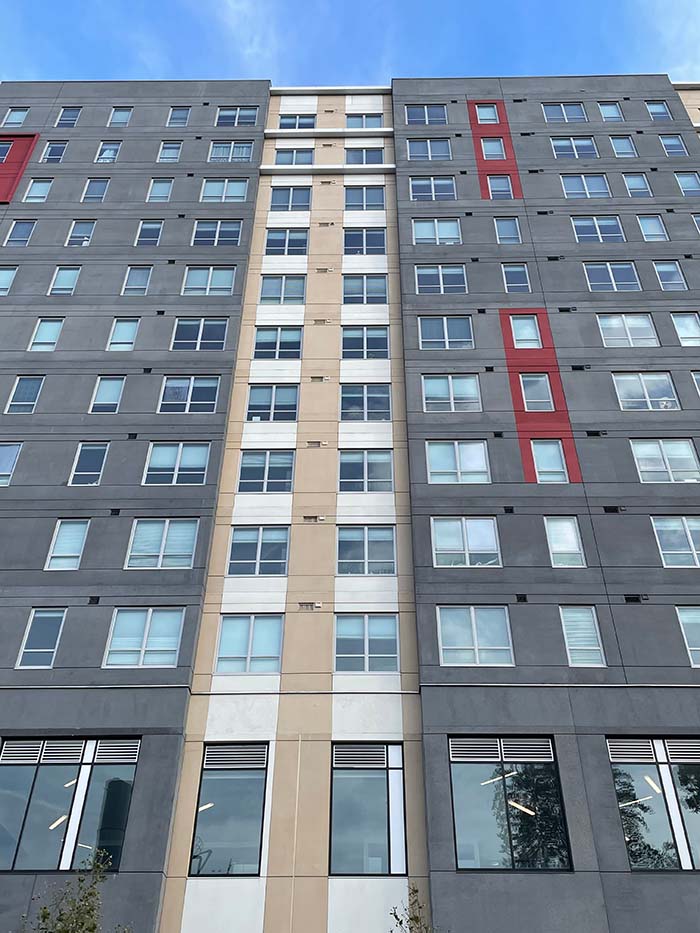
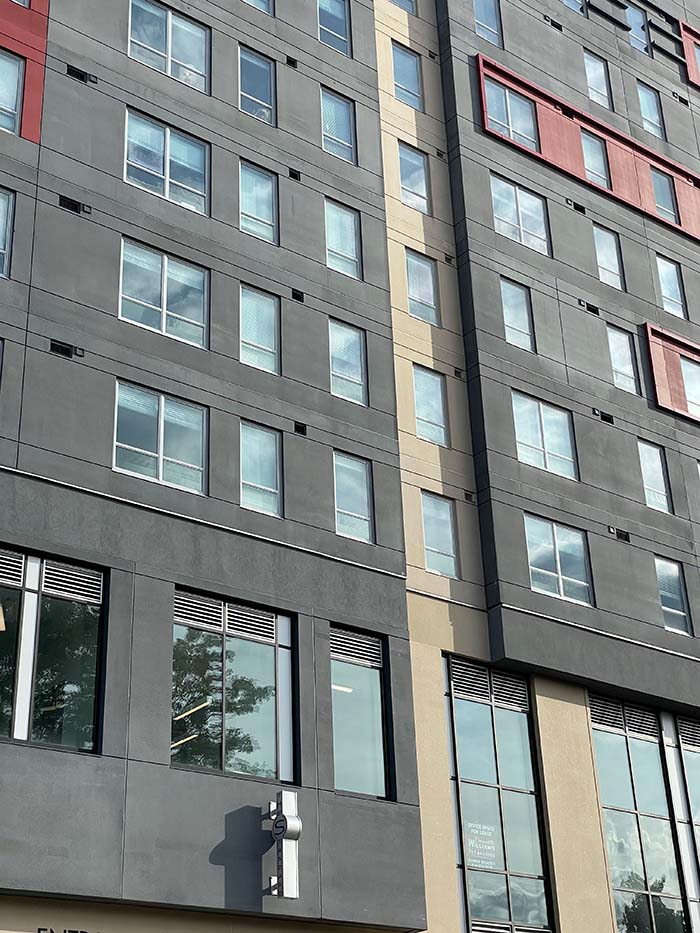
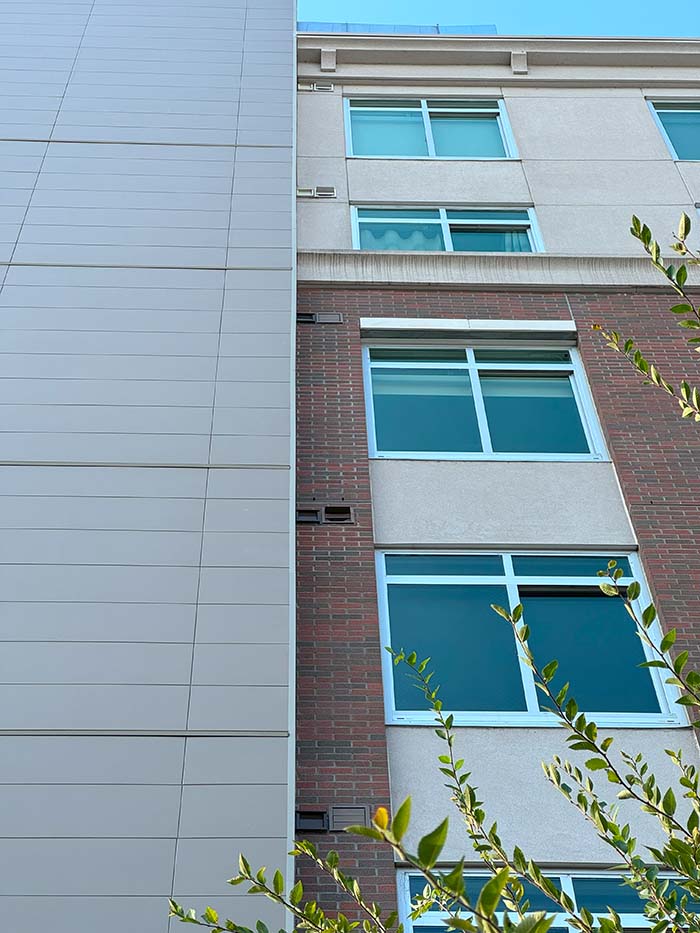
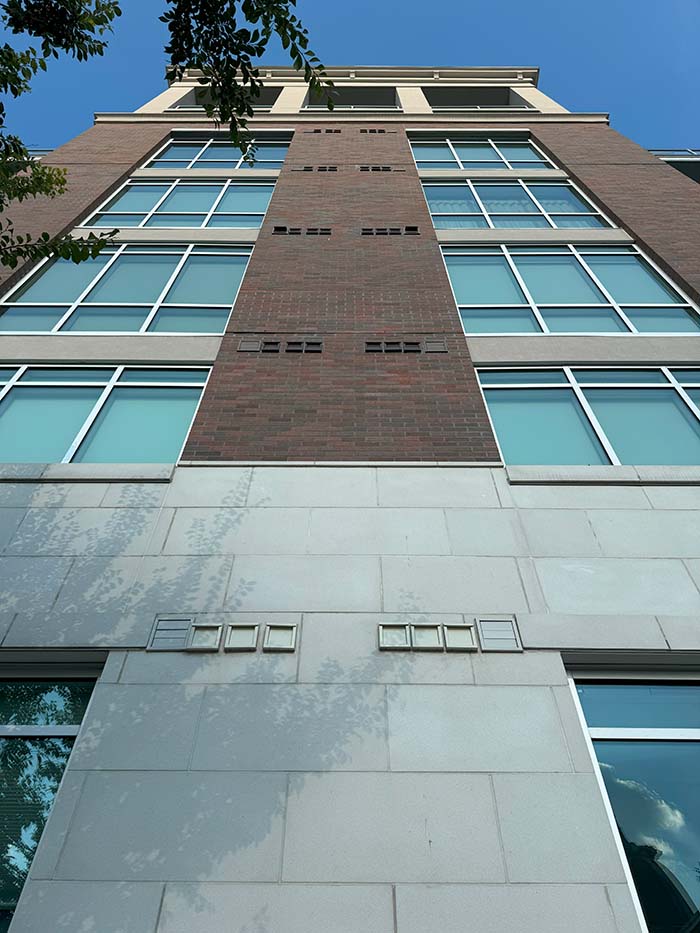
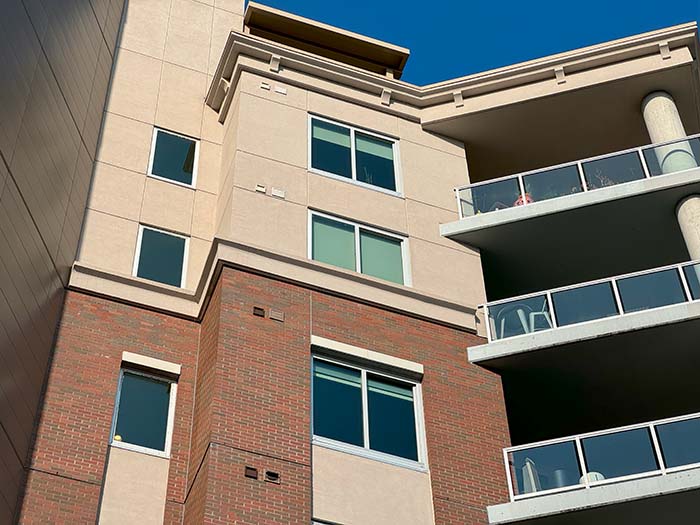
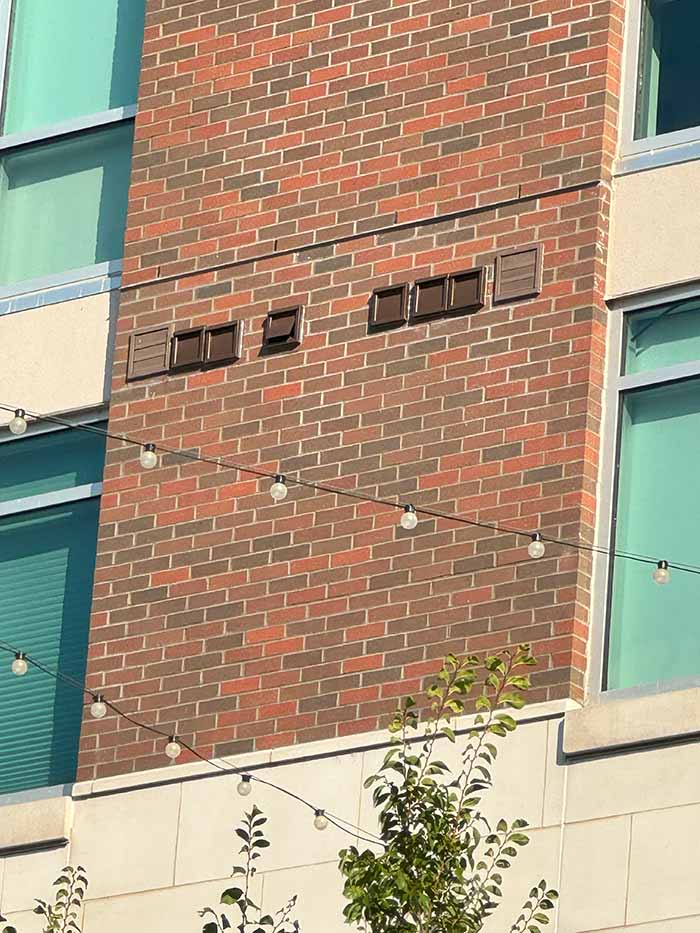
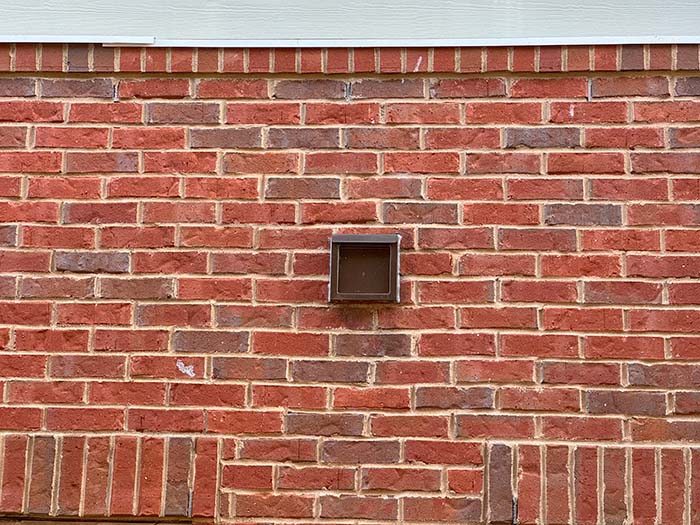
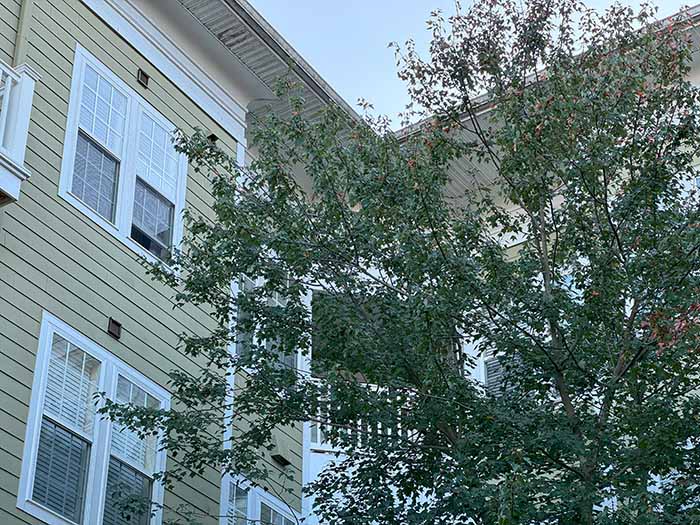
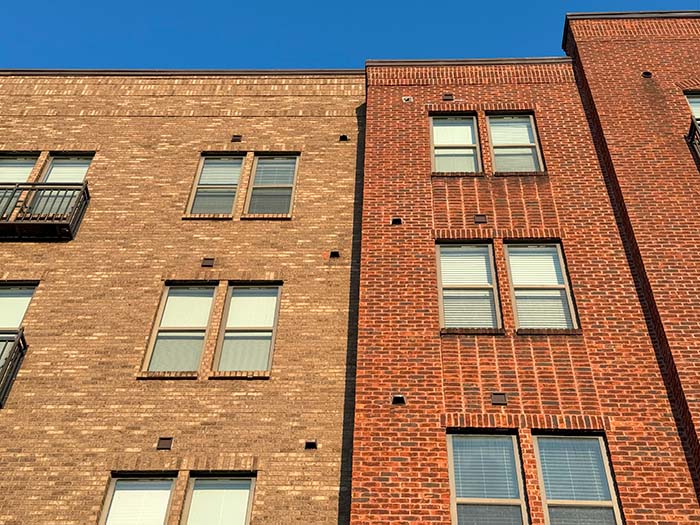
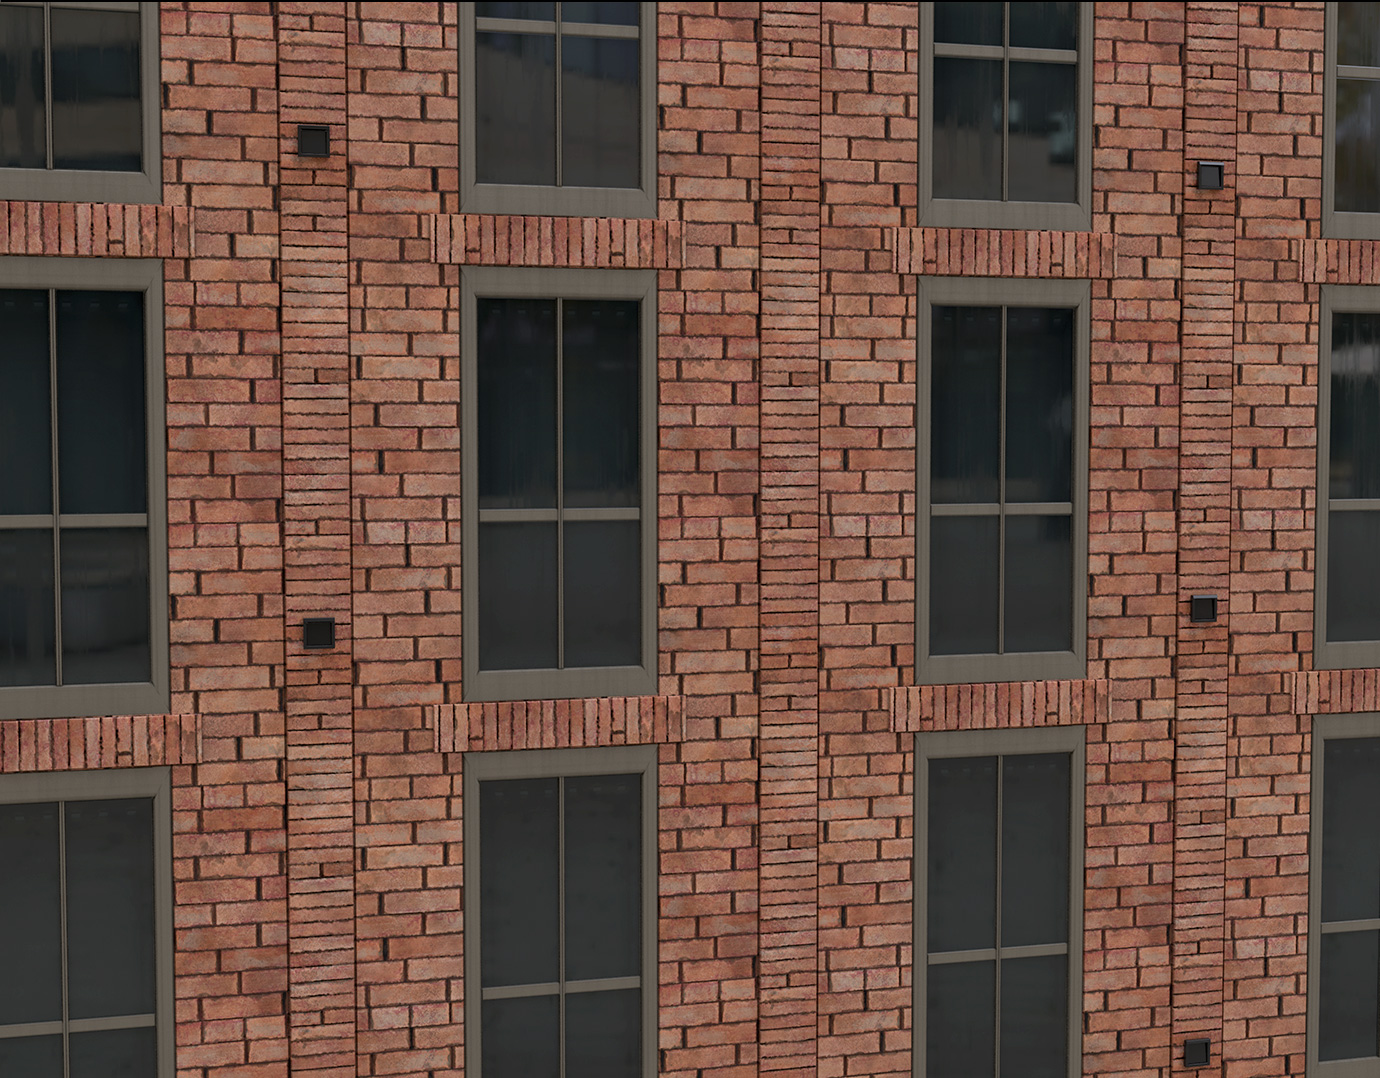
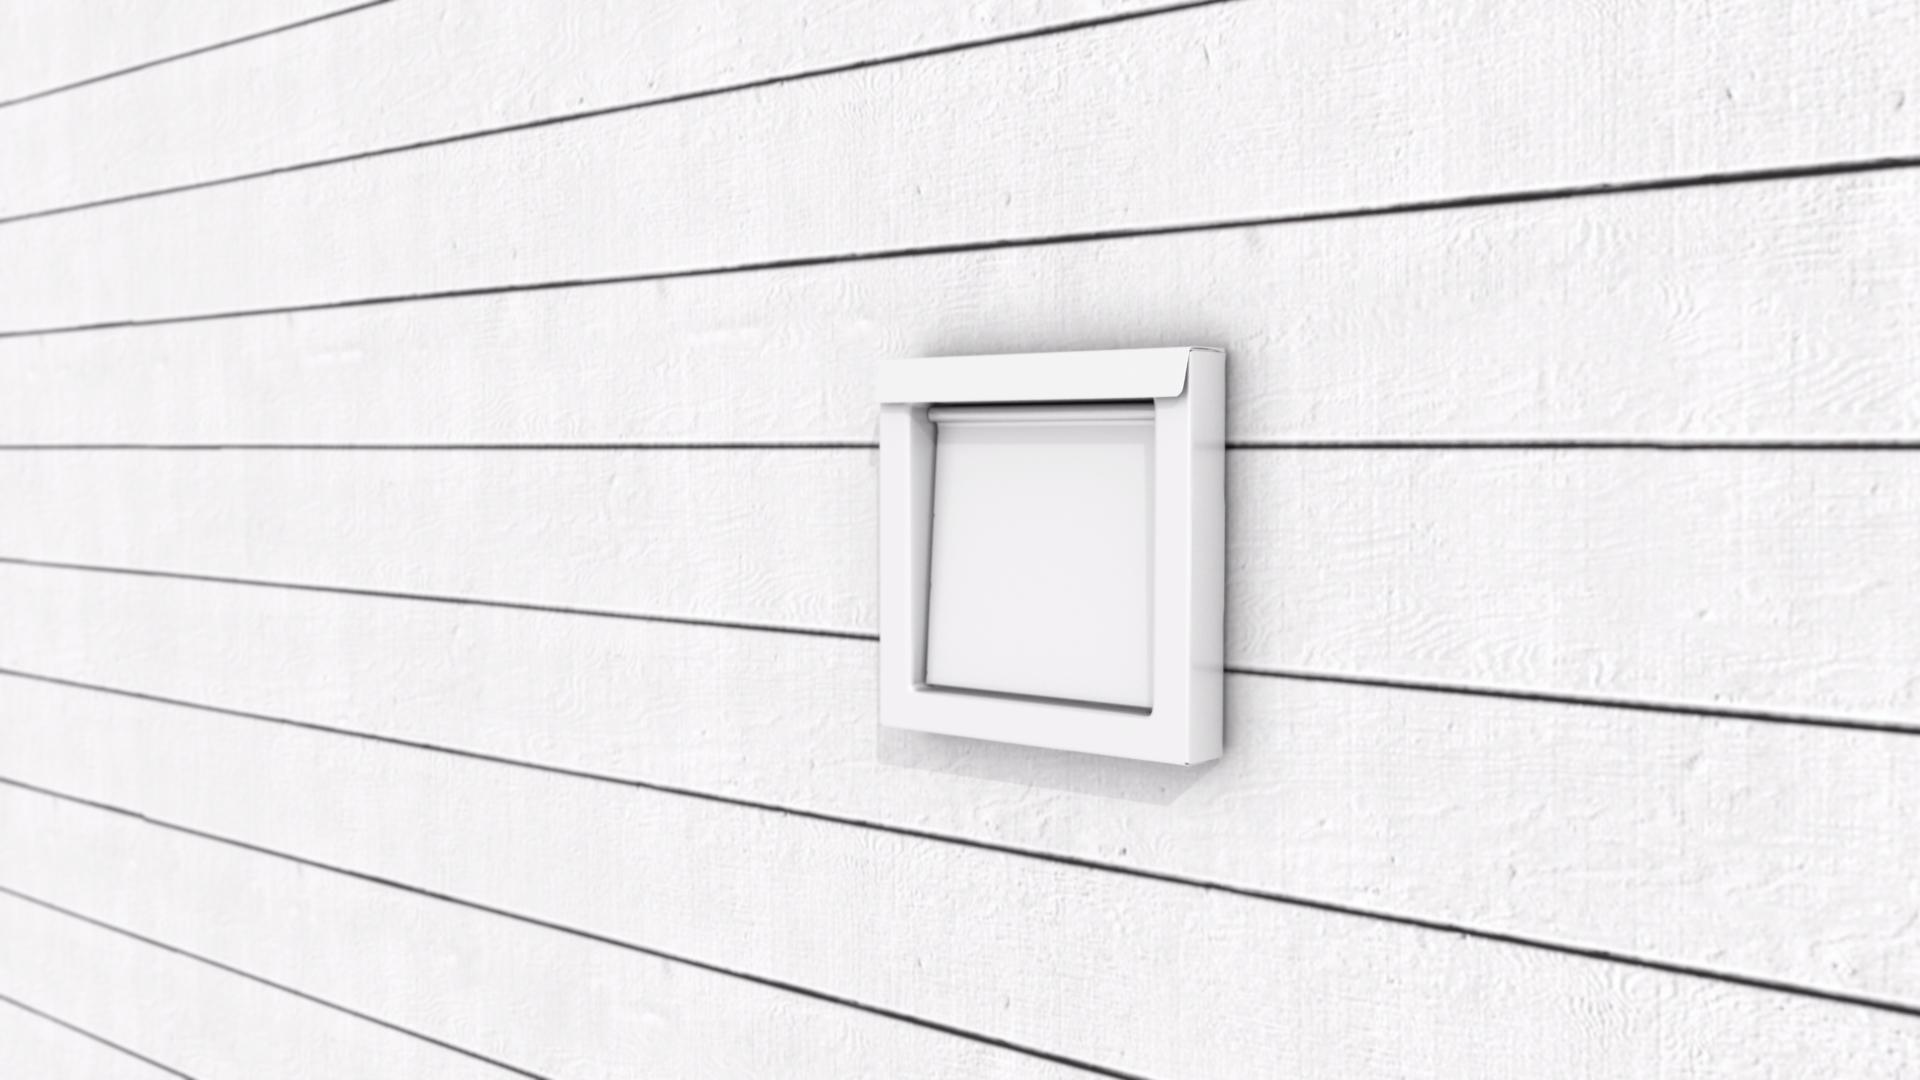
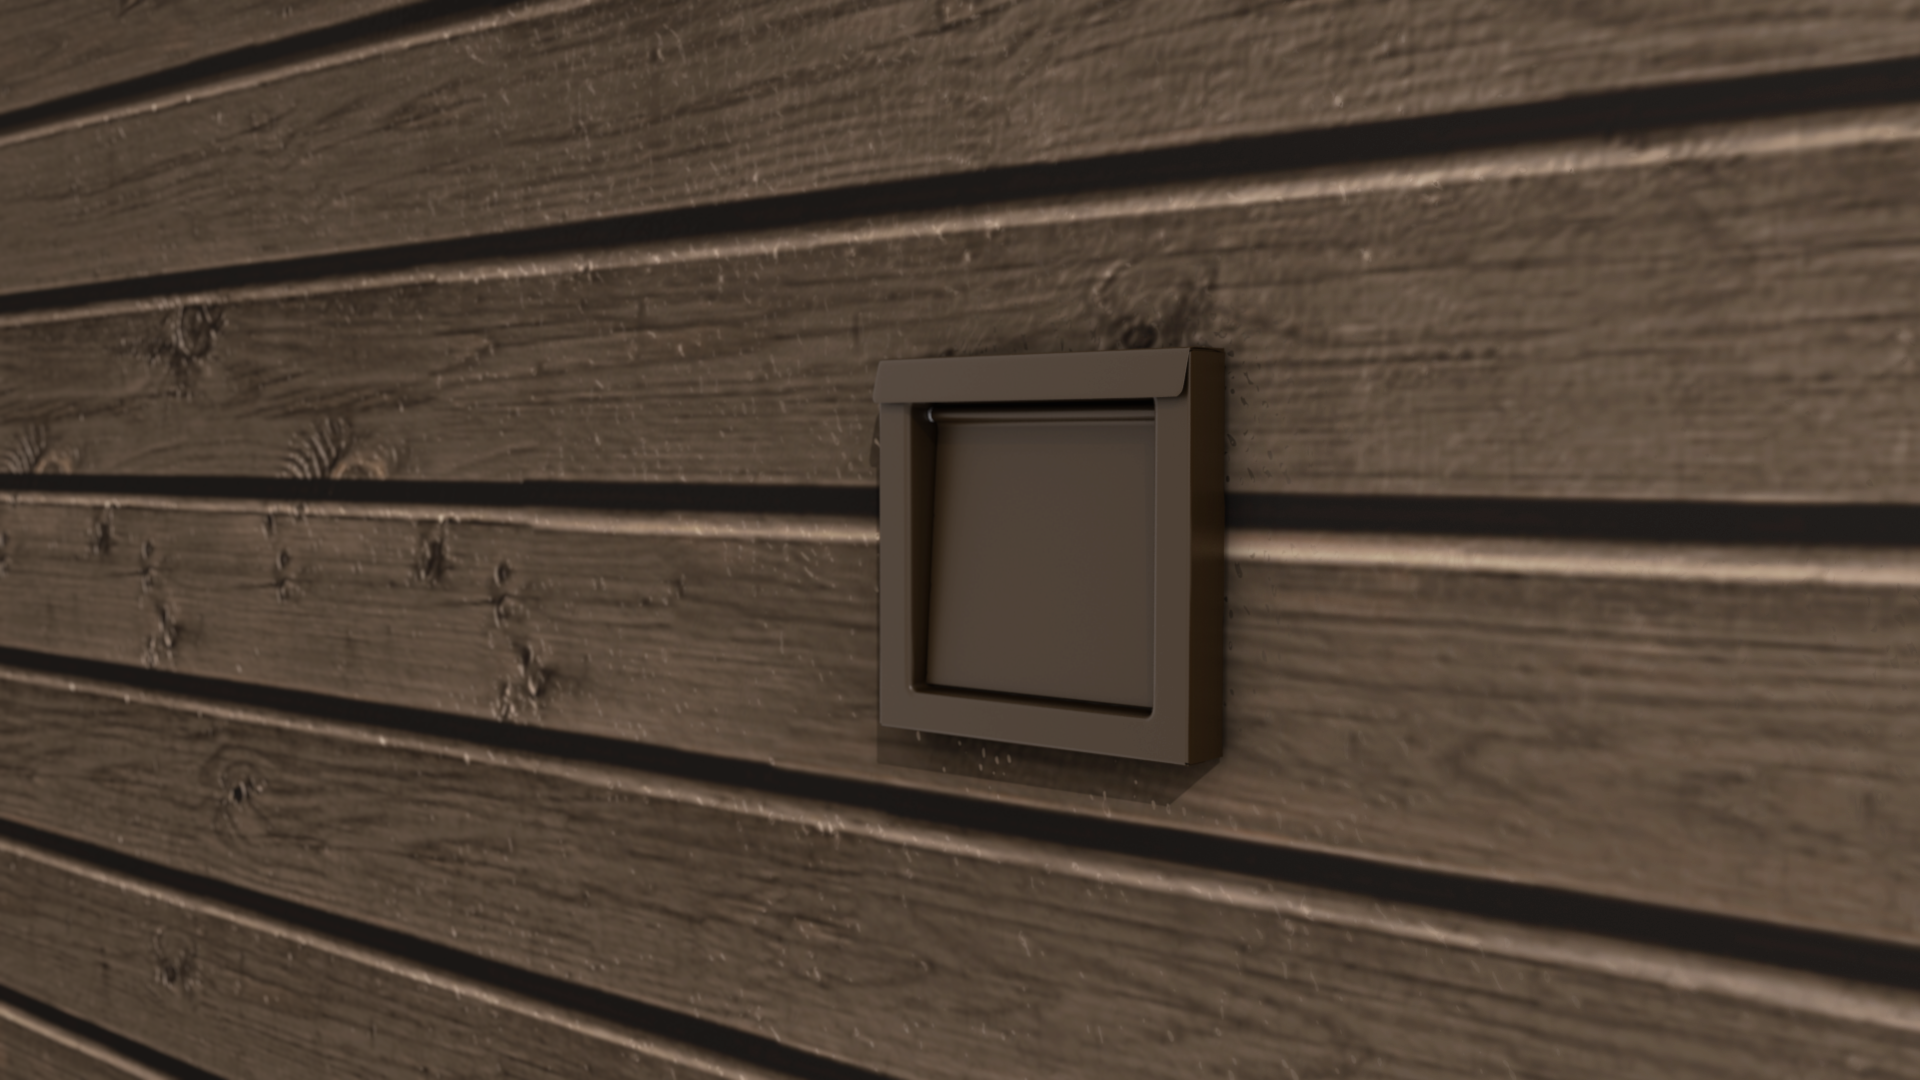
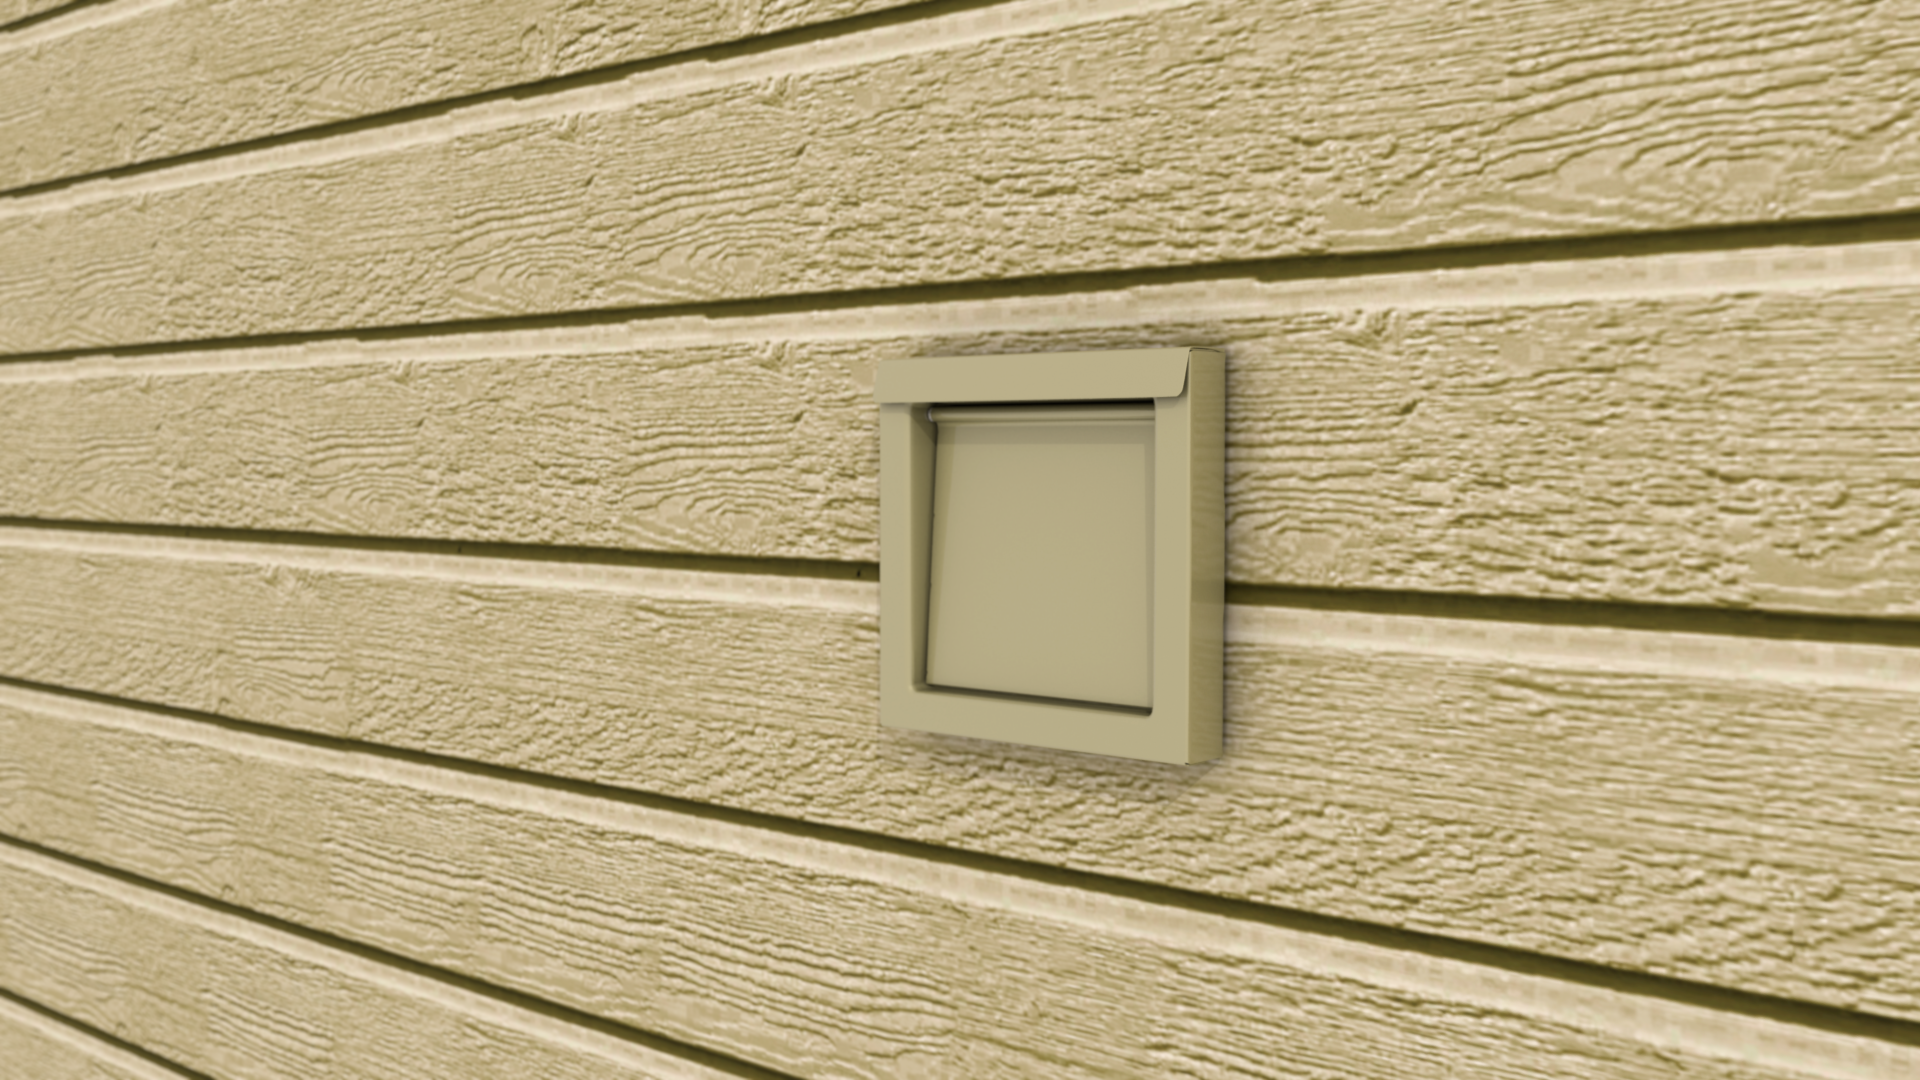
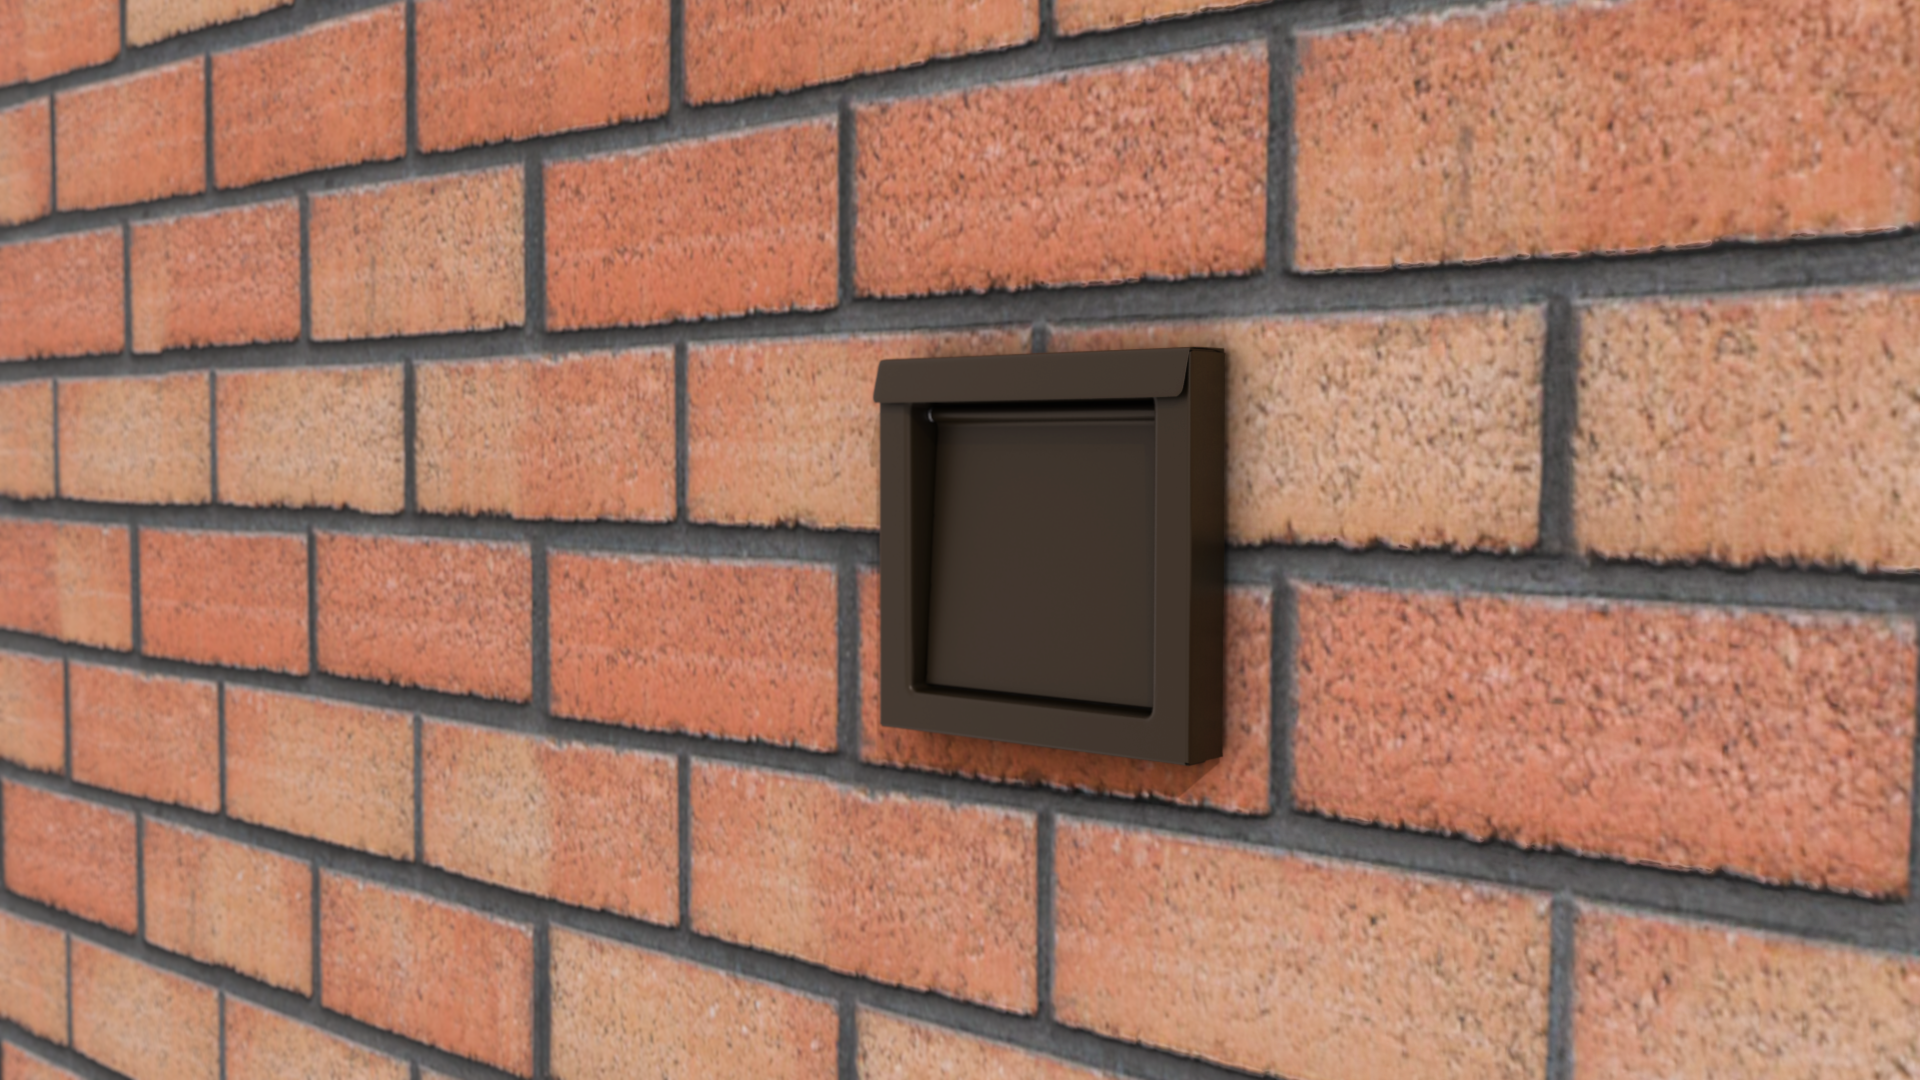
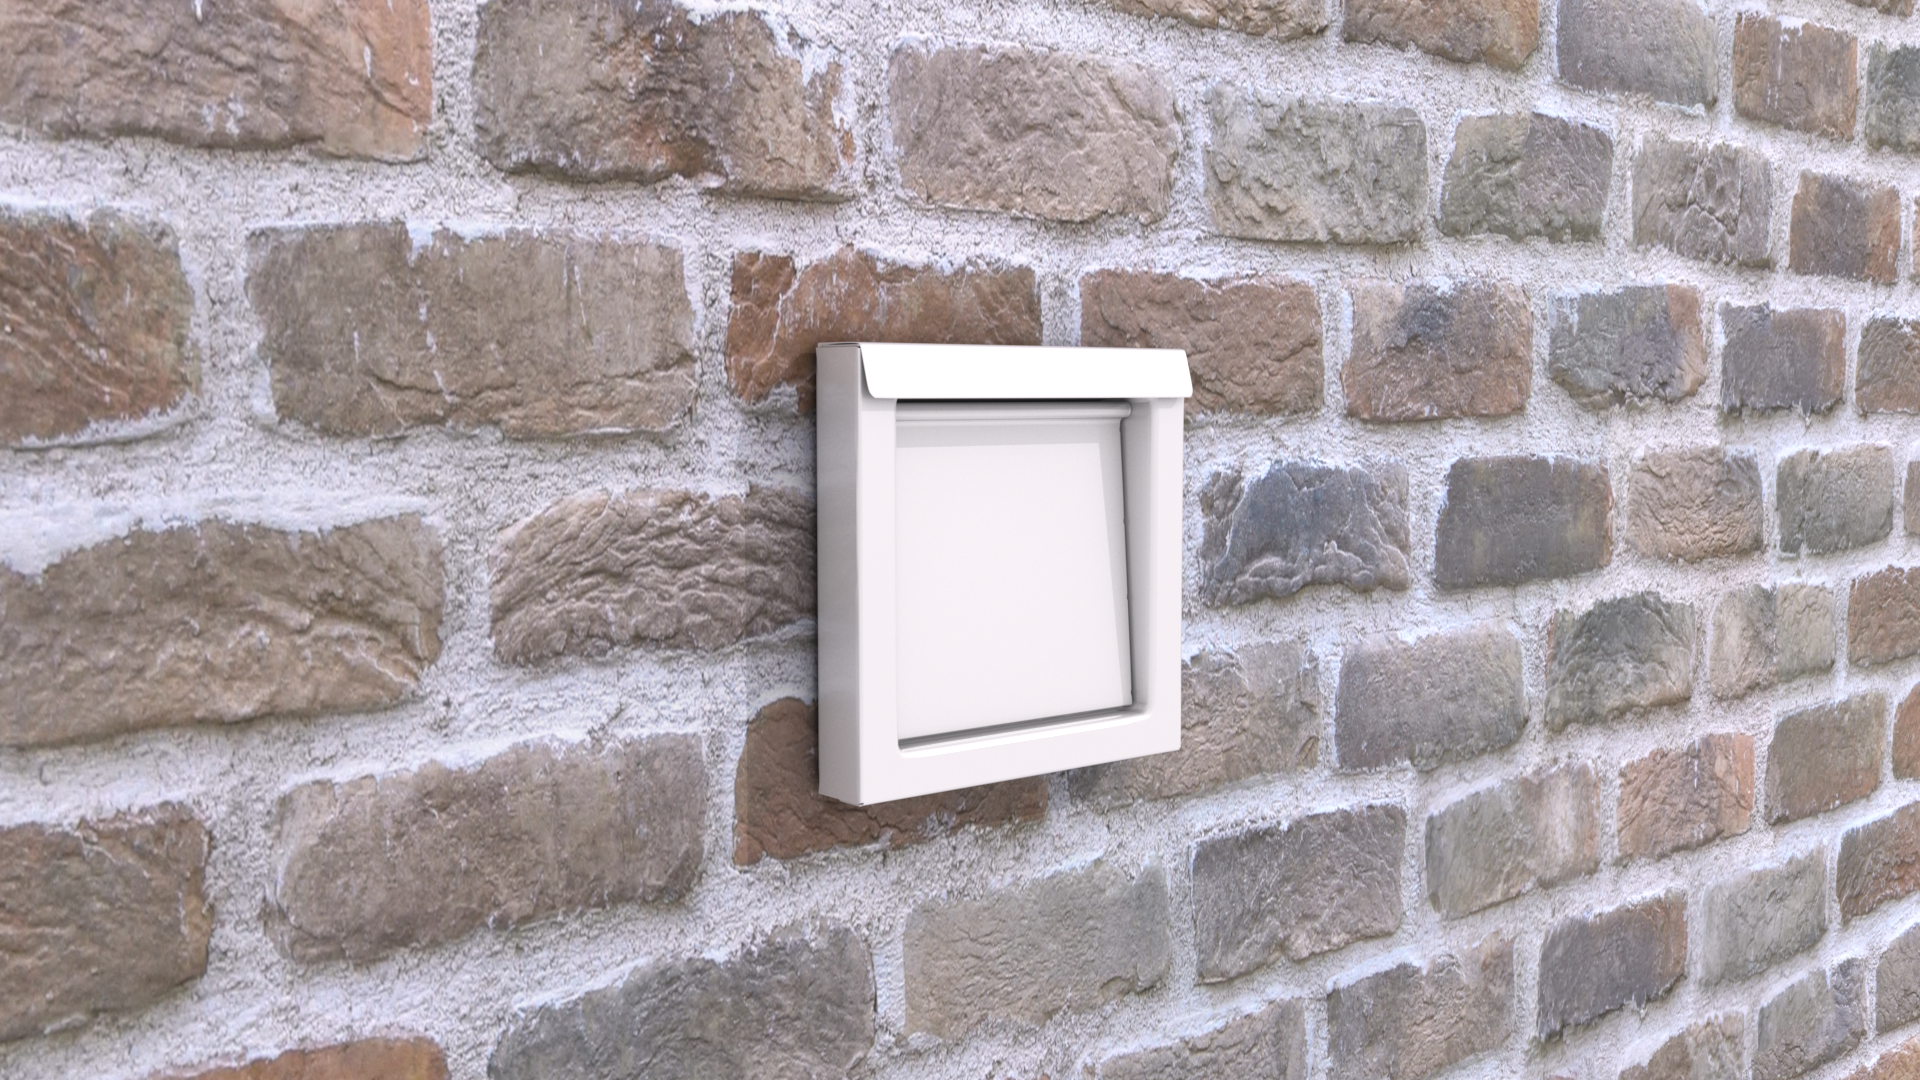
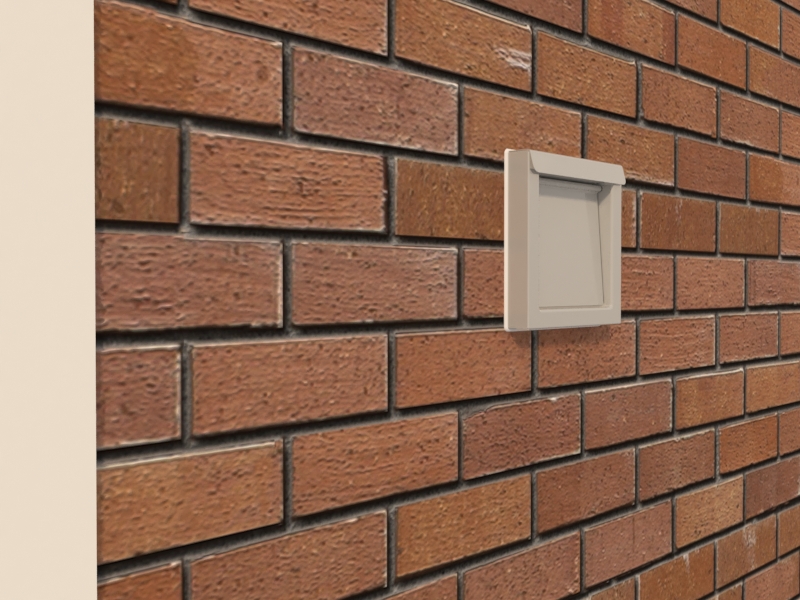
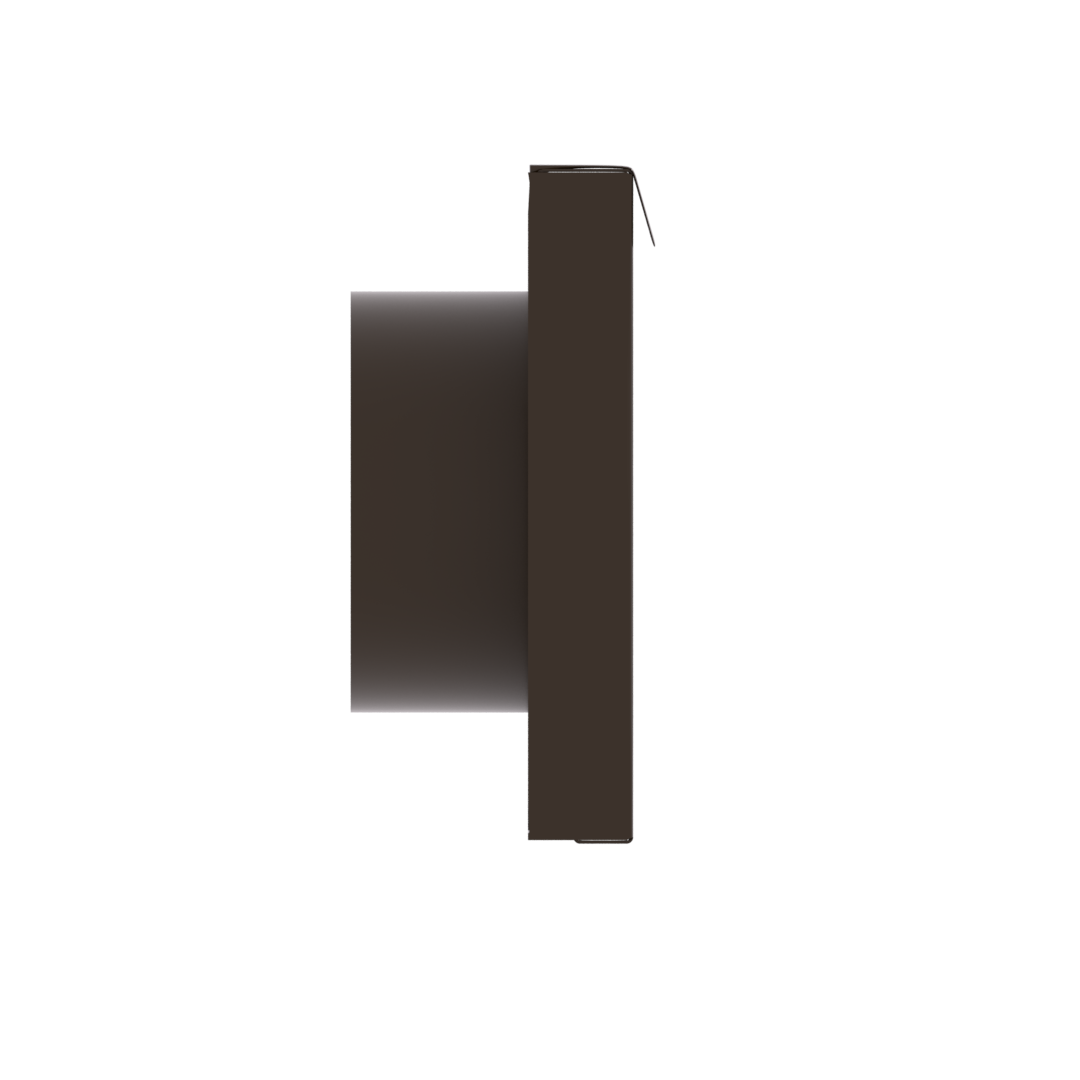
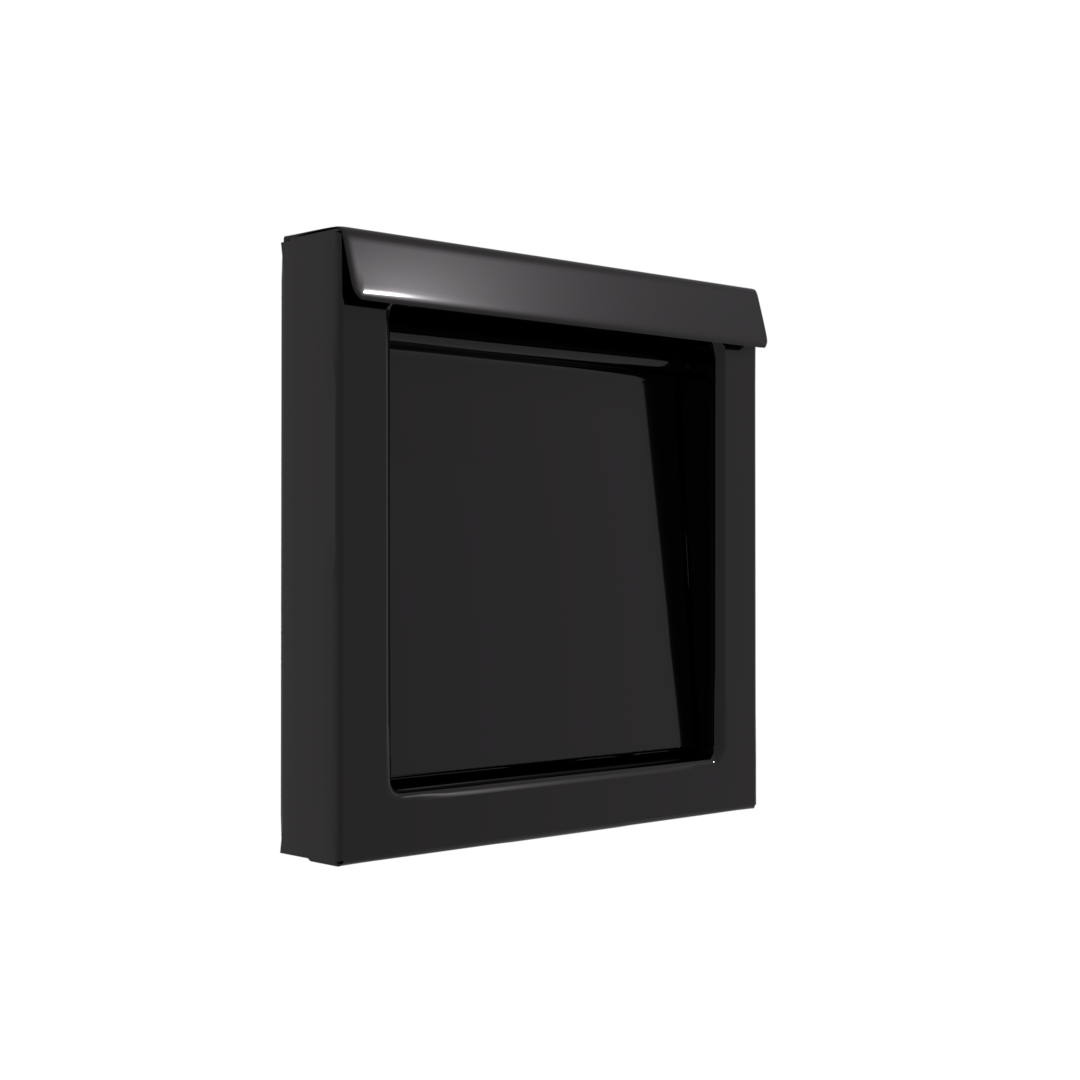
- Blend or Accent Beautiful Exteriors With a Low-Profile
- Help Shorten Drying Times by Maximizing Efficiency
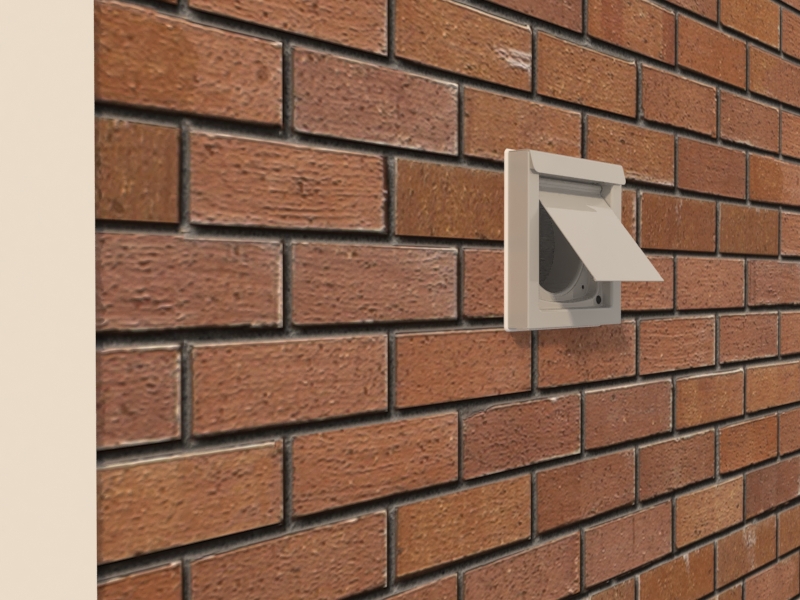
- Accommodate Duct Cleaning Equipment Easily
- Exceed Manufacturer & Code Requirements
Gauge Its Performance
- Even More Impervious to The Elements
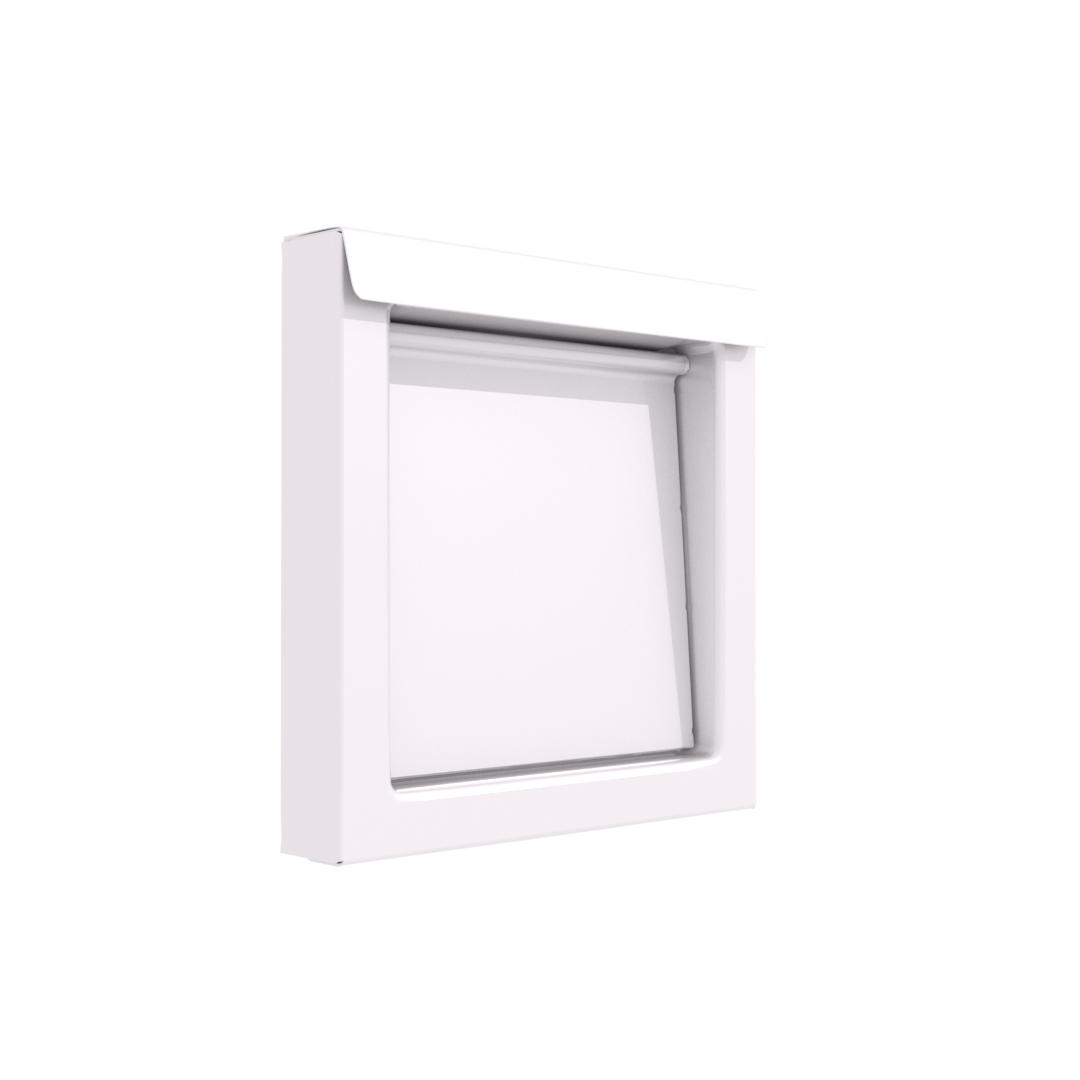
- Built for Consistent Construction and Clean Lines
- Double the Installation Footprint Options
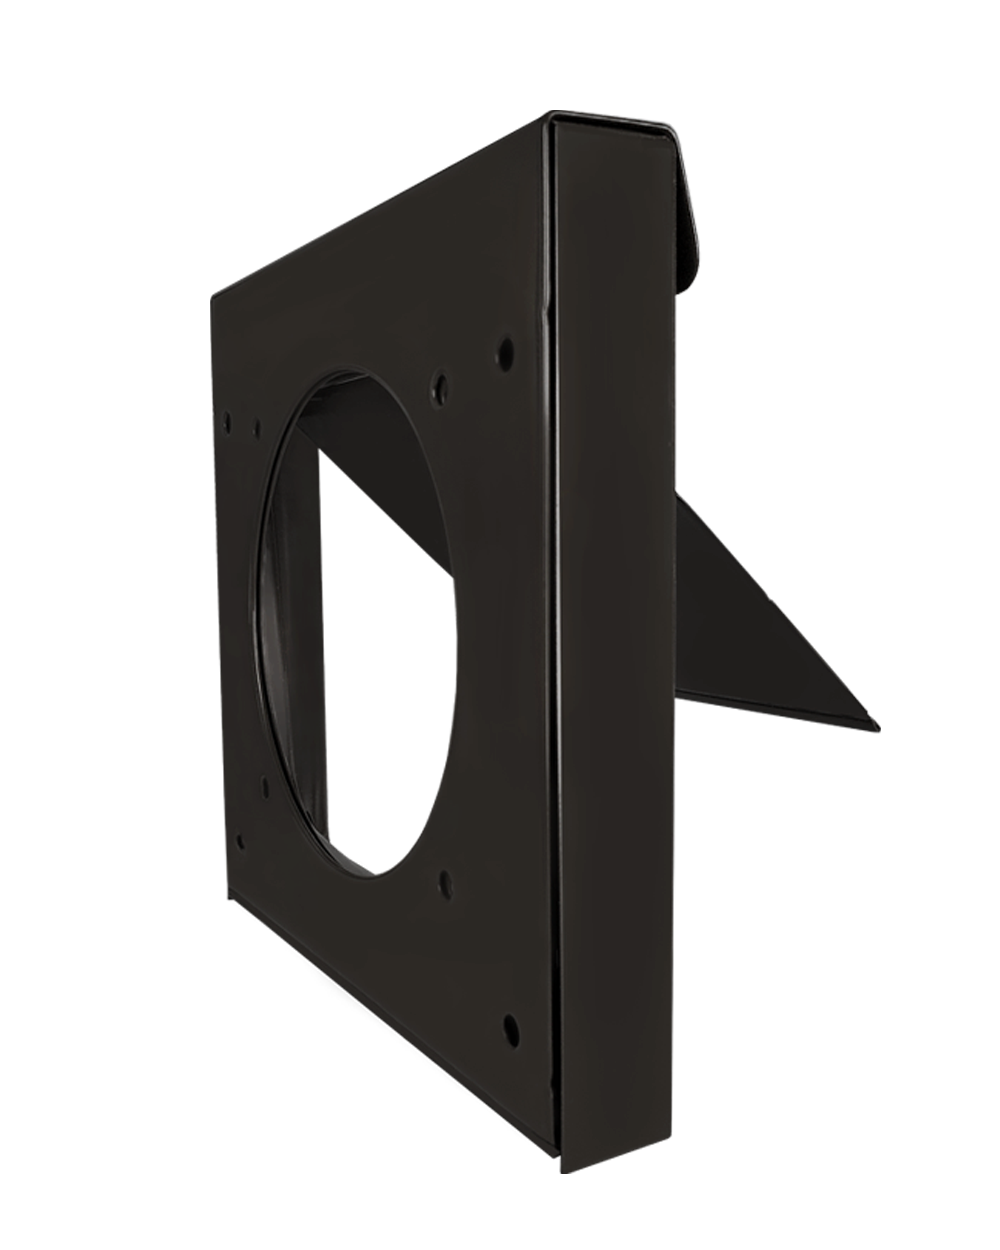
Standard Installation
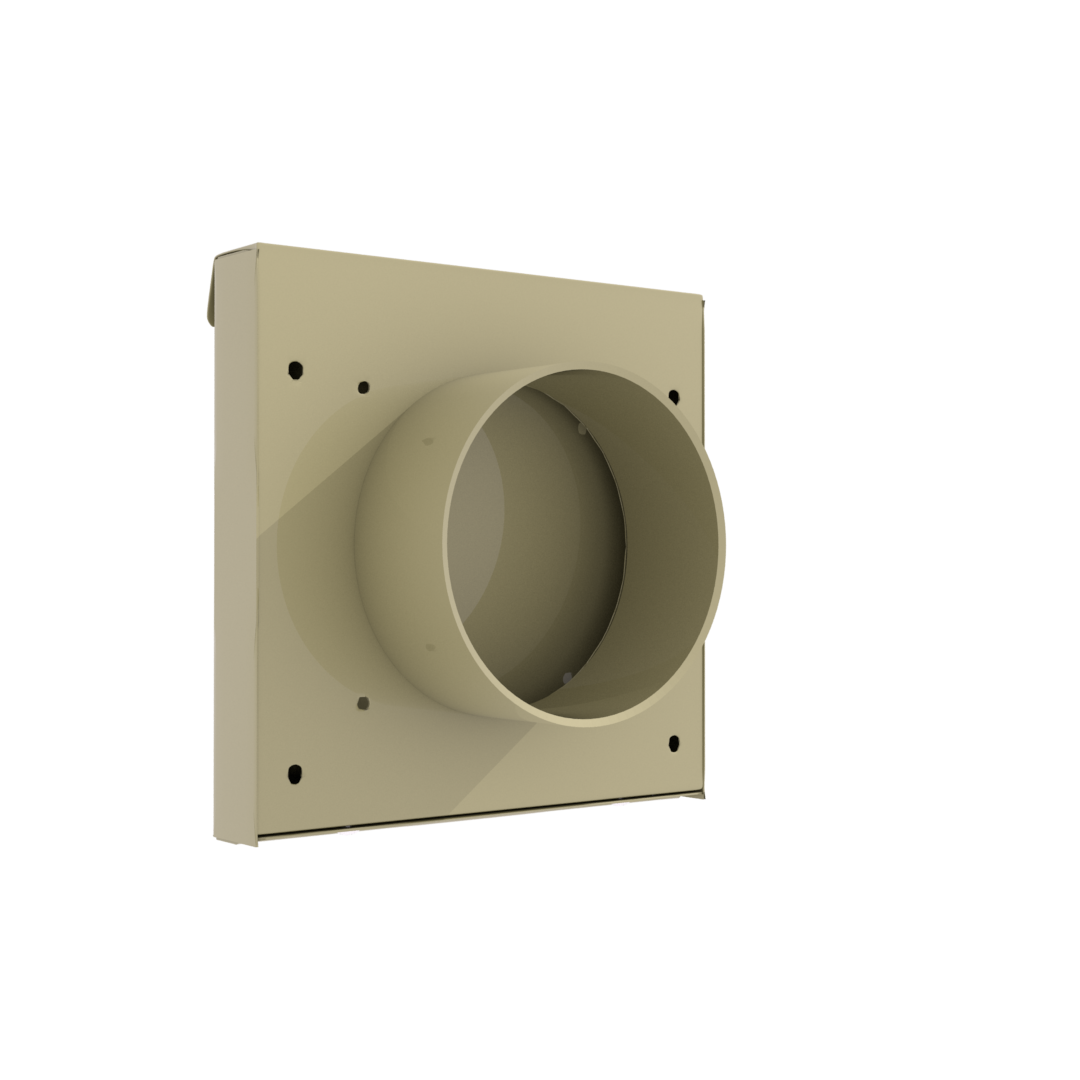
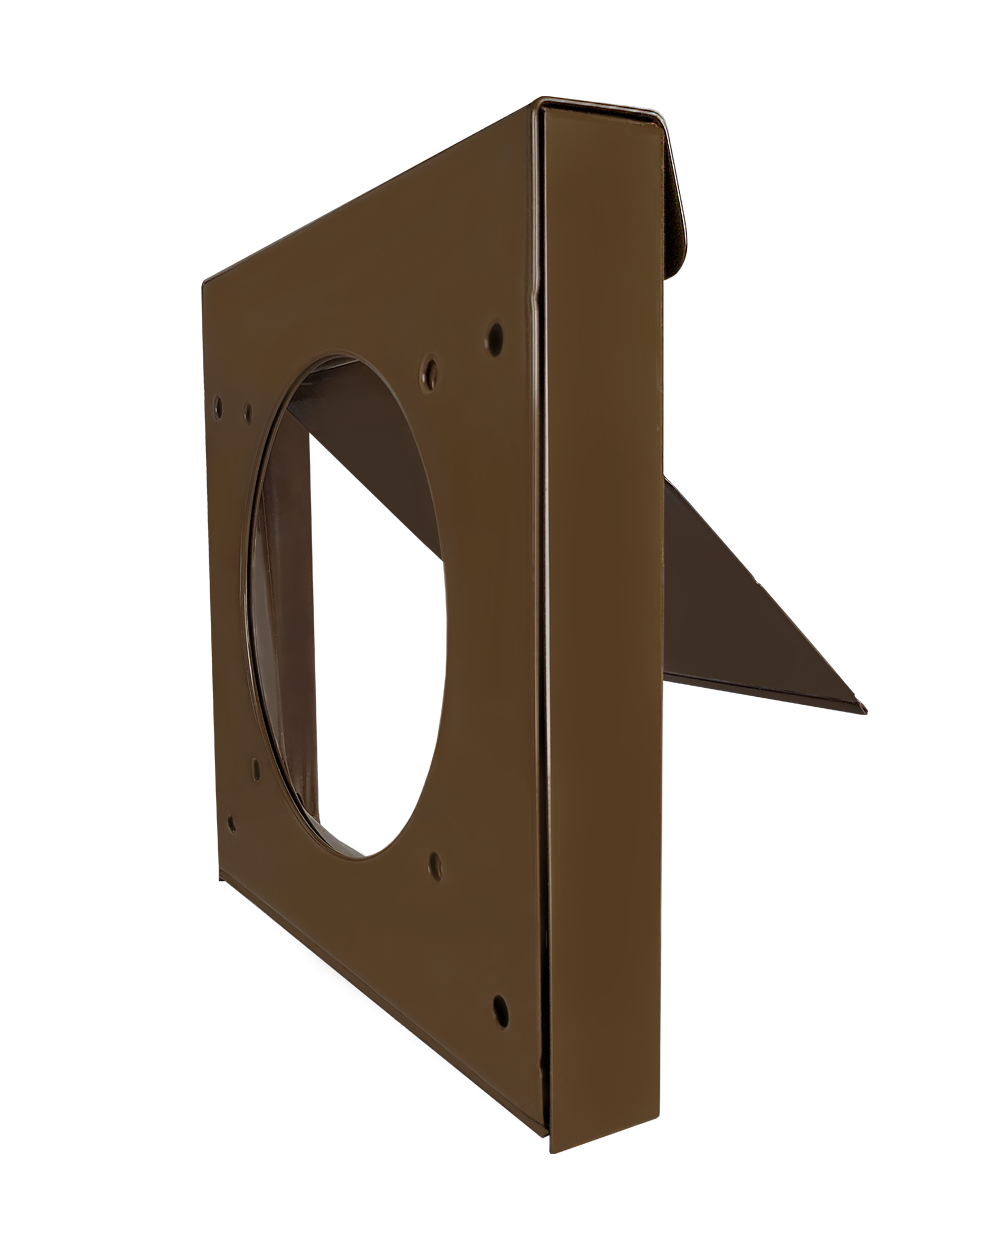
Optional Backing Plate Installation
Standard Install
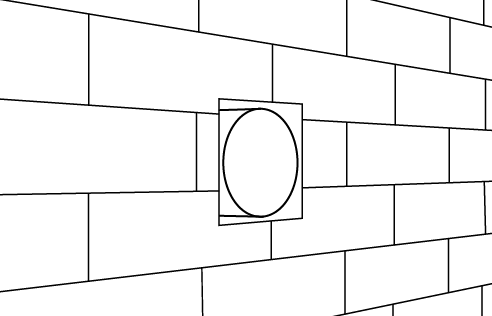
STEP ONE
Confirm that 4” duct is flush to the exterior substrate.
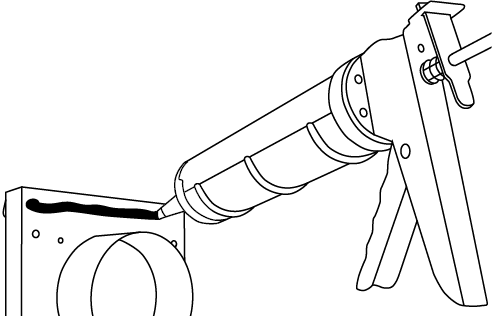
STEP TWO
Add sealant around the perimeter of the backing plate.
Add sealant around the perimeter of the backing plate.
STEP THREE
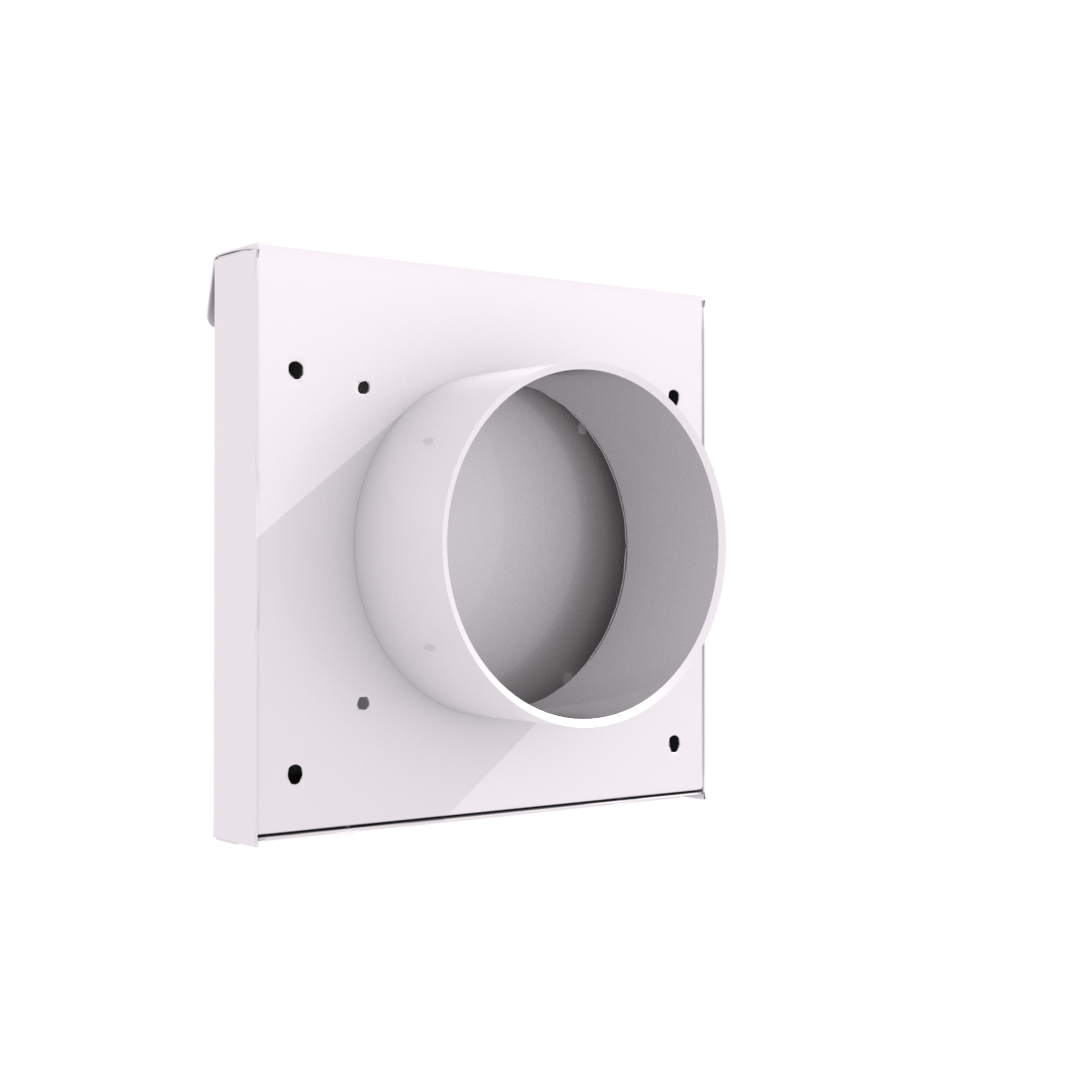
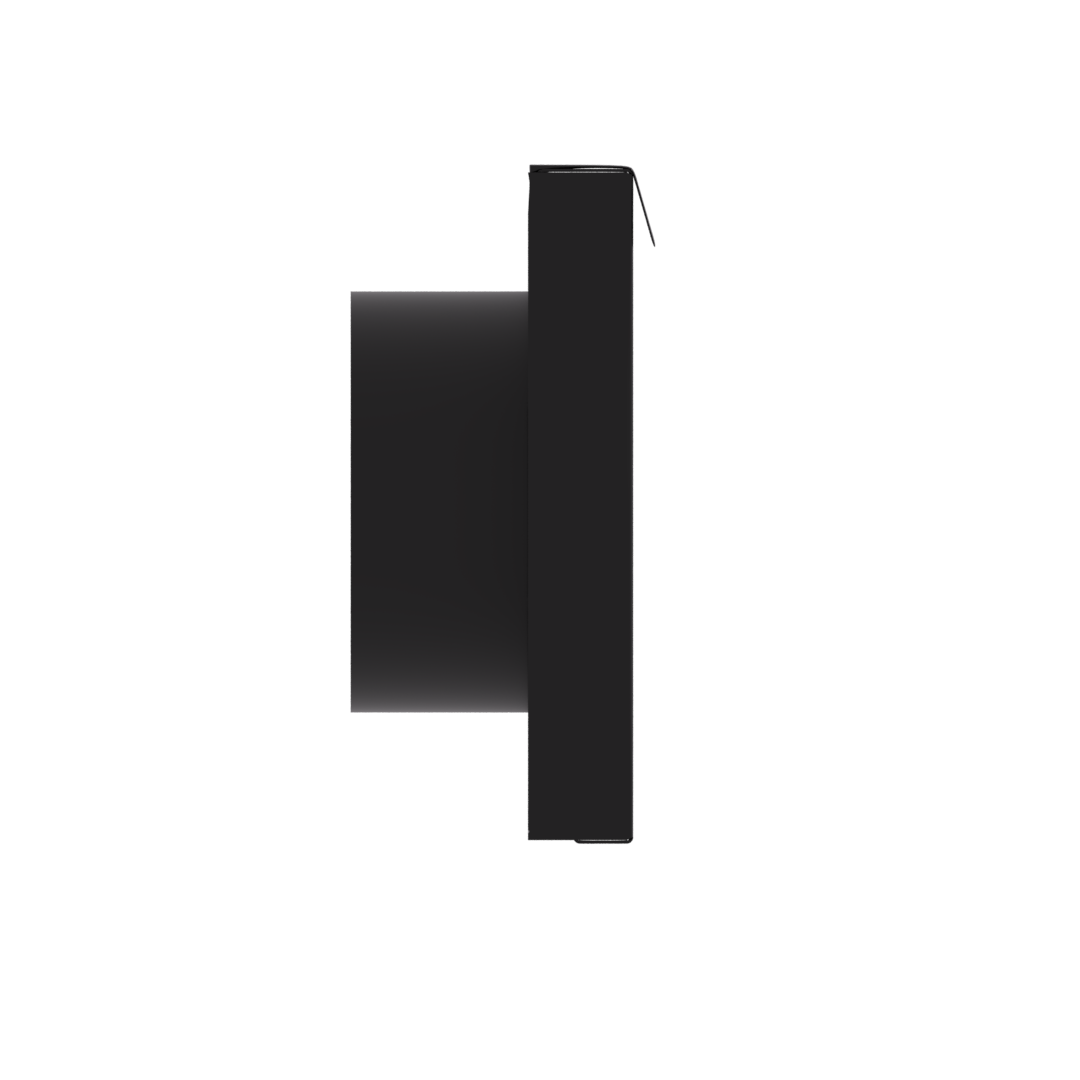
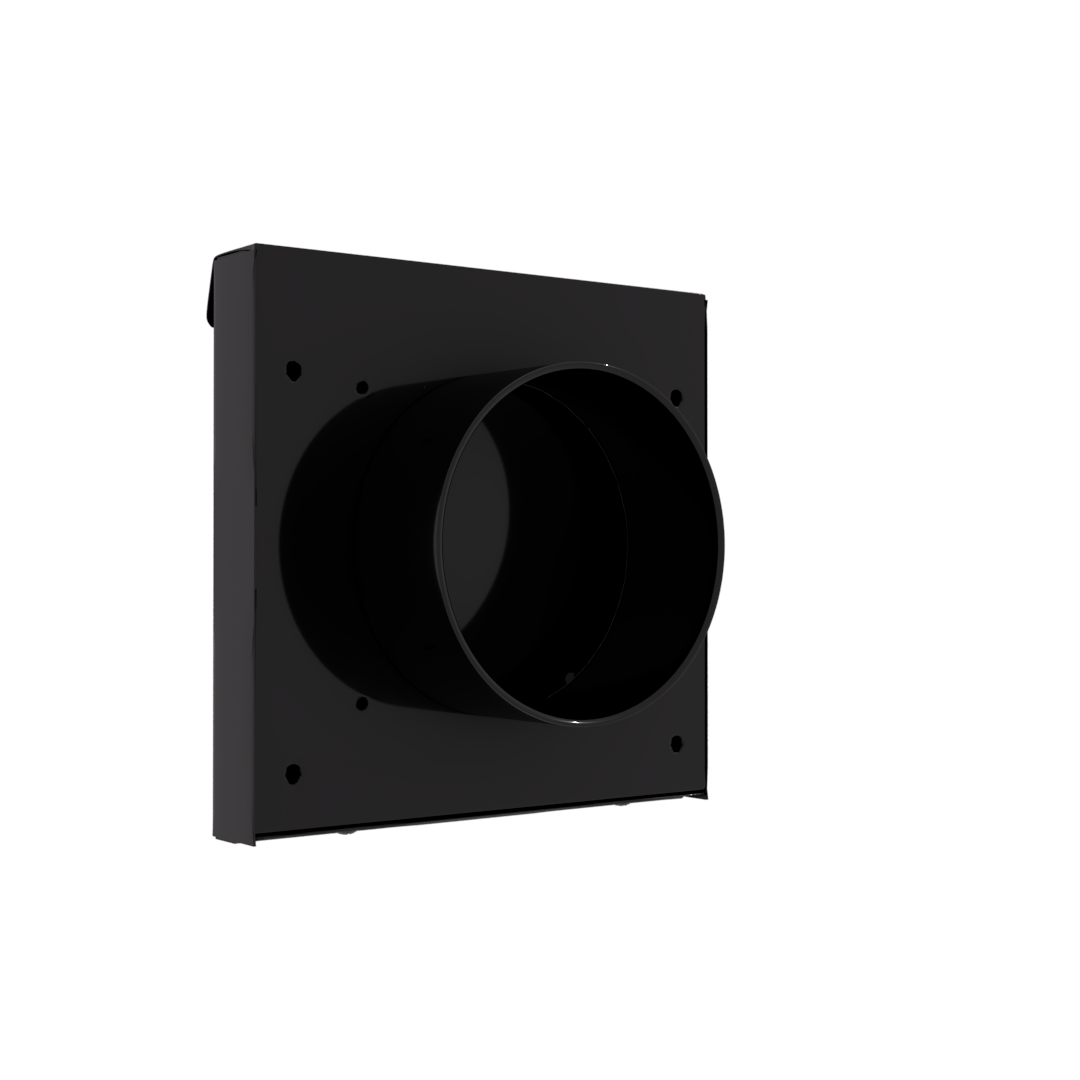
Insert DryerWallVent collar into 4” duct. *If installing a No Collar unit, align opening with duct and skip to Step 4.
Insert DryerWallVent collar into 4” duct. *If installing a No Collar unit, align opening with duct and skip to Step 4.

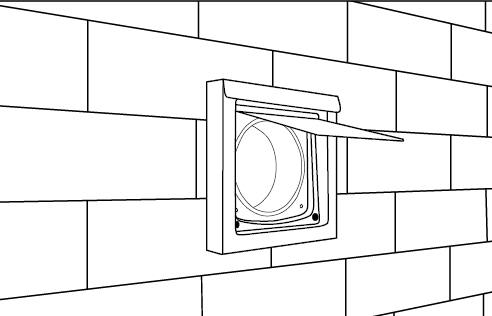
STEP FOUR
To secure to the substrate, install exterior rated fasteners through the inner screw holes.
To secure to the substrate, install exterior rated fasteners through the inner screw holes.
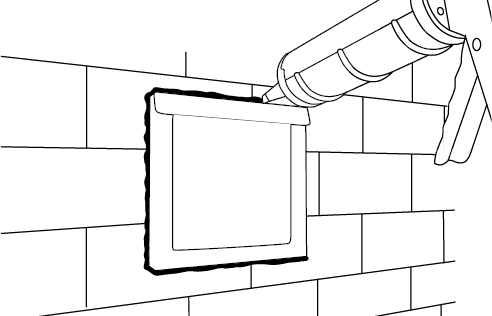
STEP FIVE
Apply sealant to all sides in contact with final exterior surface.
Tip: Bottom may be unsealed to allow for weeping.
Apply sealant to all sides in contact with final exterior surface.
Tip: Bottom may be unsealed to allow for weeping.
Backing Plate Install
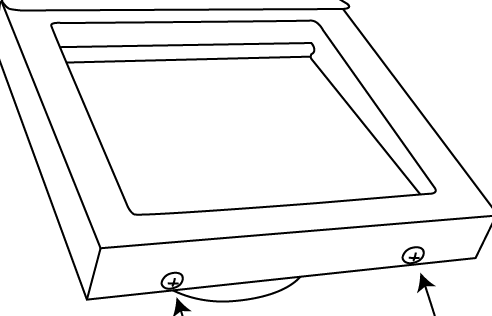
STEP ONE
To expose the fastener holes on the backing plate, remove the two #6 screws on the bottom of the DryerWallVent.
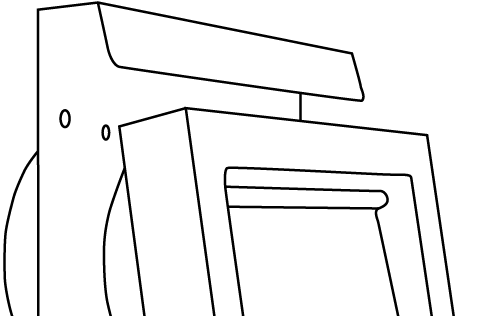
STEP TWO
Remove the damper assembly.
Remove the damper assembly.
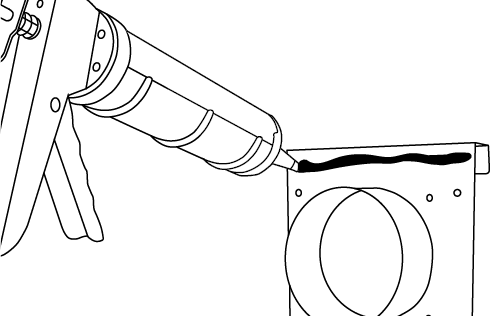
STEP THREE
Add sealant around the backing plate perimeter.
Add sealant around the backing plate perimeter.
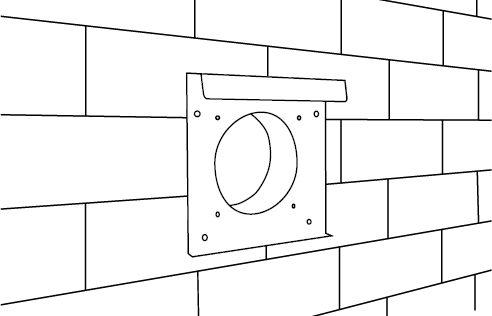
STEP FOUR
Insert DryerWallVent collar into 4” duct. *If installing a No Collar unit, align opening with duct and skip to Step 5.
Insert DryerWallVent collar into 4” duct. *If installing a No Collar unit, align opening with duct and skip to Step 5.
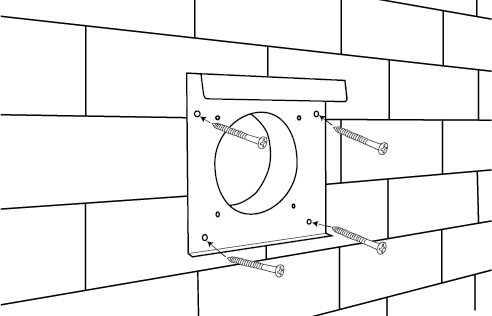
STEP FIVE
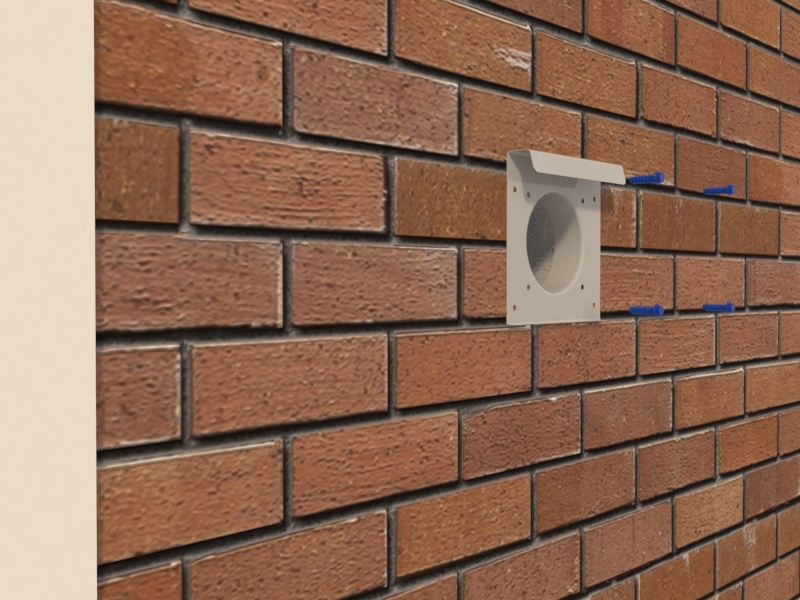
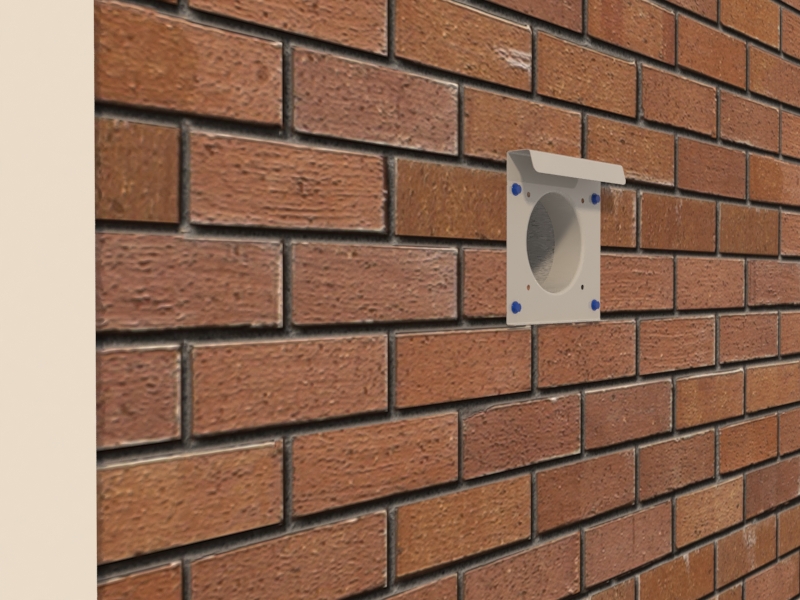
Install exterior rated fasteners through the outer backing plate holes.
Install exterior rated fasteners through the outer backing plate holes.
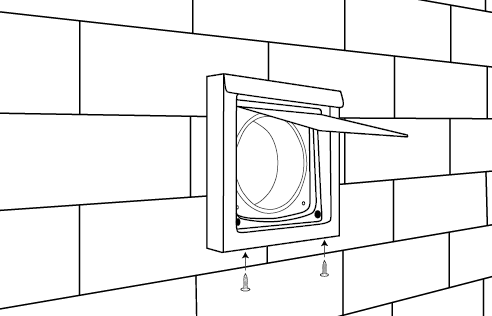
STEP SIX
Insert under the drip edge and secure bottom with the #6 screws.
Insert under the drip edge and secure bottom with the #6 screws.
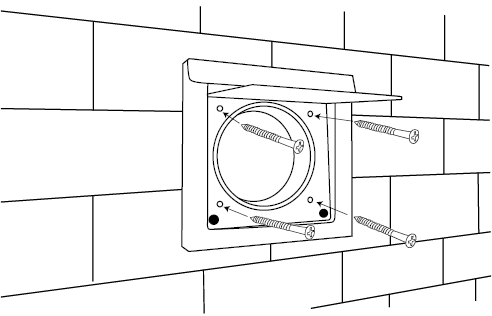
STEP SEVEN
For added security, #14 exterior rated screws may be used in the inner screw holes.
For added security, #14 exterior rated screws may be used in the inner screw holes.

STEP EIGHT
Apply sealant to all sides in contact with final exterior surface.
Tip: Bottom may be unsealed to allow for weeping.
Apply sealant to all sides in contact with final exterior surface.
Tip: Bottom may be unsealed to allow for weeping.